Getting your Hands Dirty with Multi Container Architecture Setup
In the projects, many containers are employed to segregate the logic for ease of development and scaling. It also helps to reduce the impact on other components if one is compromised. In less than 10 minutes, you'll learn how to build such setup using docker-compose.


Hello World! In this post, I will guide you through setting up a multiple container architecture for a simple HTTP app that will be served on port 80 and interact with a Memcached server on port 11211. In this I will show you the two ways – The lengthy one using Docker to pull images and then deploy one by one and another one is using docker-compose, simple one file and deploy the container in a one-shot.
I can tell you that once you understand docker-compose, you will be fine. It will become your go-to tool for multi-container projects deployment.
You can too practice this lab on attack defence here – https://attackdefense.com/challengedetails?cid=2271
To prevent security misconfigurations, the team has created a local docker repository serving on https://registry:5000. We will be using it for pulling the images from the registry to the local file system.
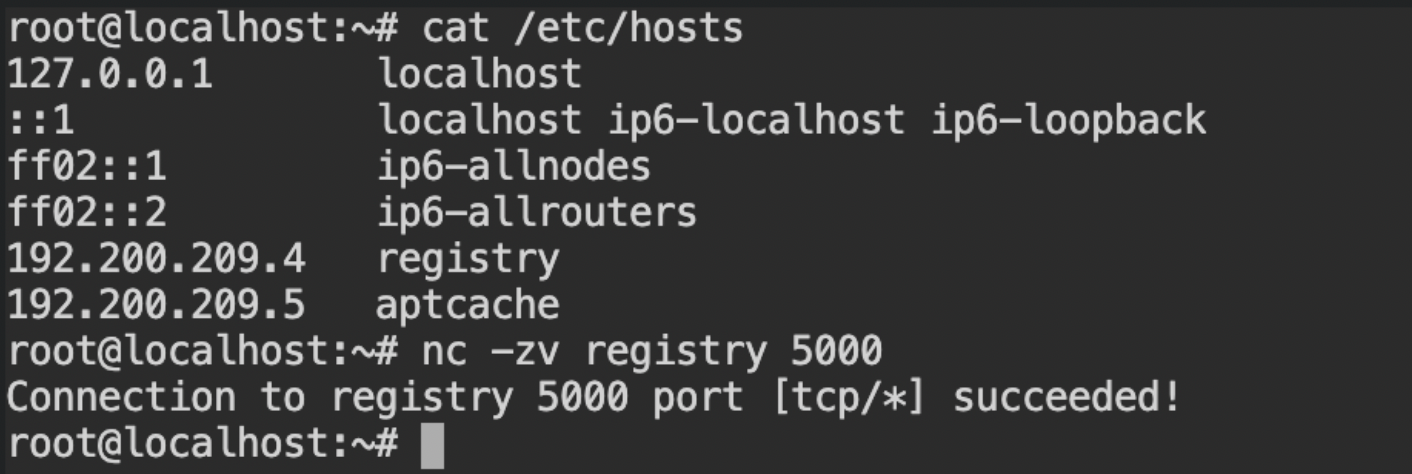
/etc/hosts filePerform the Deployment using Docker CLI
On the system, there are currently no images pulled. To check the name of these images, you can call the catalogue API from the registry.

Among all these, there are two images we will be used as instructed in the description of the lab – appserver:latest and memcached-app:latest. So pull it via docker pull command
docker pull registry:5000/appserver
docker pull registry:5000/memcached-appNote: There is only one tag available for these images (latest) you can ignore that while writing the pull image command as by default the docker uses latest tag for your images. Read more here
After you are done pulling both of those images, you can verify whether your images are downloaded or not, simply by executing docker images command.

Creating a Network Namespace for Routing requests Between Containers
You can also use the host network to route the requests between appserver \( \longleftrightarrow \) memcached-app services. But there is no fun in it, so let's create a user-defined network and assign that to both of the services.
We will be using a bridge network as it will allow you to create a link between containers when connected through the same bridge isolating other containers that are on different networks. Internally, it will be using namespaces to allot a network bridge and also create iptables rules for the same. When you start Docker, a default bridge network (also called bridge) is created automatically, and newly-started containers connect to it unless otherwise specified.
Use the docker network create command to create a network. By default, it will create a bridge network with the name specified after the command or the options in between.
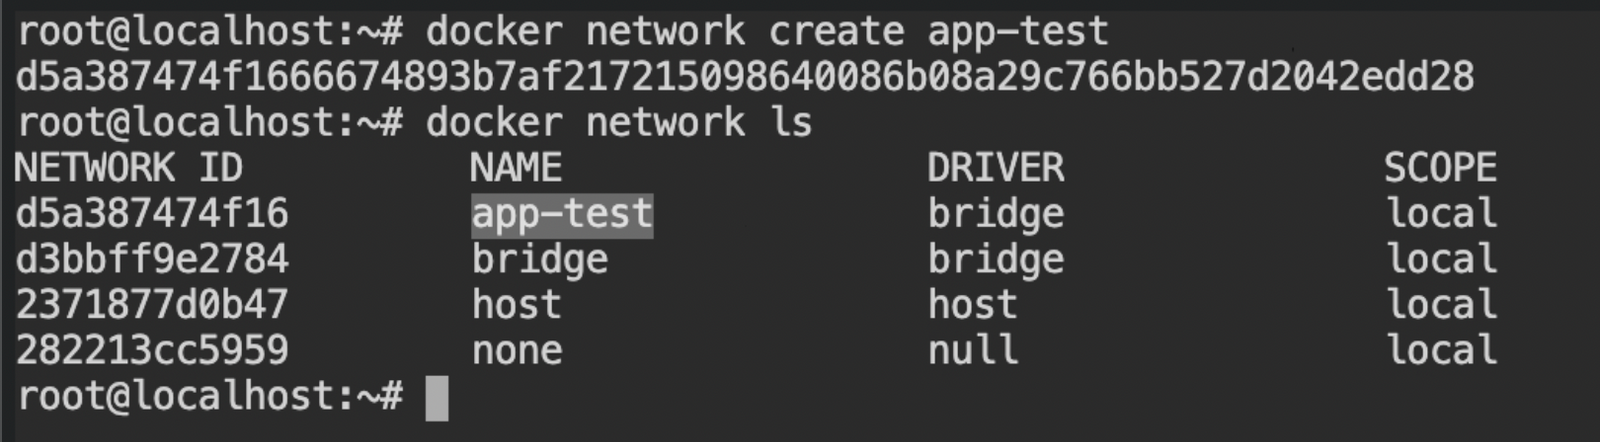
Once the network is created successfully and is ready to be used, you can provide its reference to the container while creating or running them via --network app-test CLI argument.
Creating the Containers with app-test Network Routing
You are supposed to create and start the container, this can be done by a shortcut from the CLI docker run command.
docker run --network app-test -d registry:5000/appserver
docker run --network app-test -d registry:5000/memcached-appapp-test network bridge in the detached modeThe flag -d will tell the containers to detach from the current shell session and start in the background context. However, for debugging the container you can always get the logs via docker logs command and start a shell session using docker exec command
To get the list of running containers you can execute the docker ps command which will get the list of all the running containers with minimal details required. Additionally, you can use the -a flag with the same command to get containers of all states (including running).

Interacting with the Contains via IPAddress
After you deployed the container, you won't see the IP address of the containers directly. There is no trick in this, but you can use the docker inspect command to get the details about the created container like file systems, network details and much more.

docker inspect commandYou can also deploy the container with port binding by providing the-p 8080:80 flag. This will redirect the traffic sent to the localhost:8080 to port 80 on the container.
You can now verify whether port 80 is open the IP address and perform HTTP requests via curl.
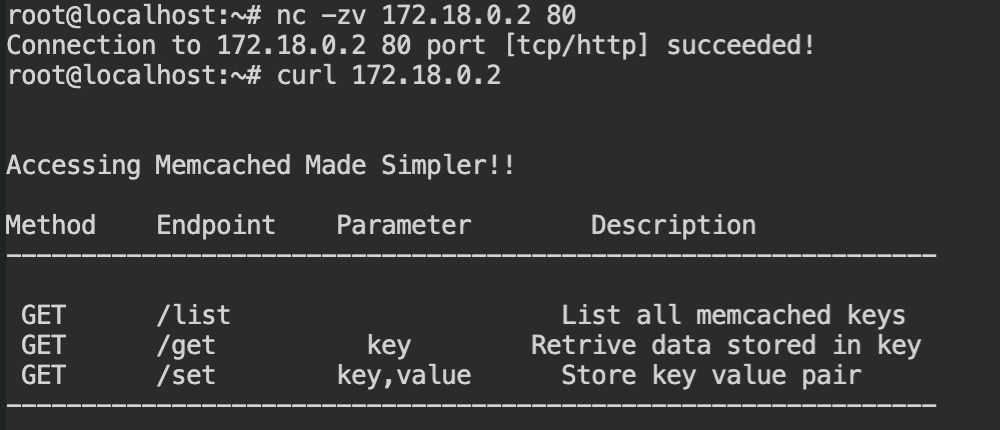
172.18.0.2 IP addressStopping the Contains and Destroying the Resources
Once you have done your work it is recommended to stop the container to provide room for other processes or containers on the system to run. In the real-world scenario, this will be done only when you are rolling an update on the server and want to make the old running code service down.
To stop the containers you can execute the docker stop command with multiple container id (from docker ps output) or the container names. If you want to stop all the running containers, simply use double-shell execution providing the IDs of the container via $(docker ps -q) command as shown below

docker stop commandRemove the containers to release the disc space occupied by them in your host file system. This can be done by docker rm command or docker container rm command. Since in this case, you are supposed to remove all the containers, use double-shell execution and provide ID from $(docker ps -q)command.

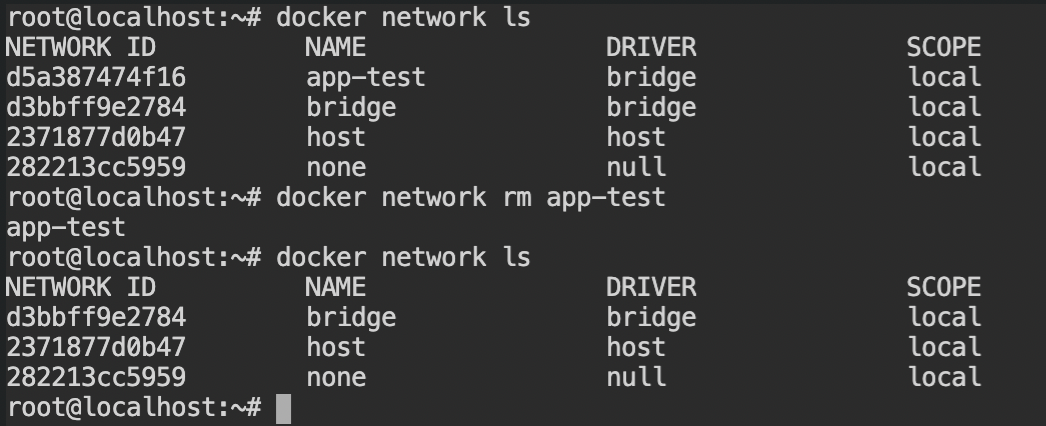
Remove the network namespace to release the IP addresses range and redundant iptables rules. You can do this by docker network rm command providing the name or the ID of the network (from docker network ls command).
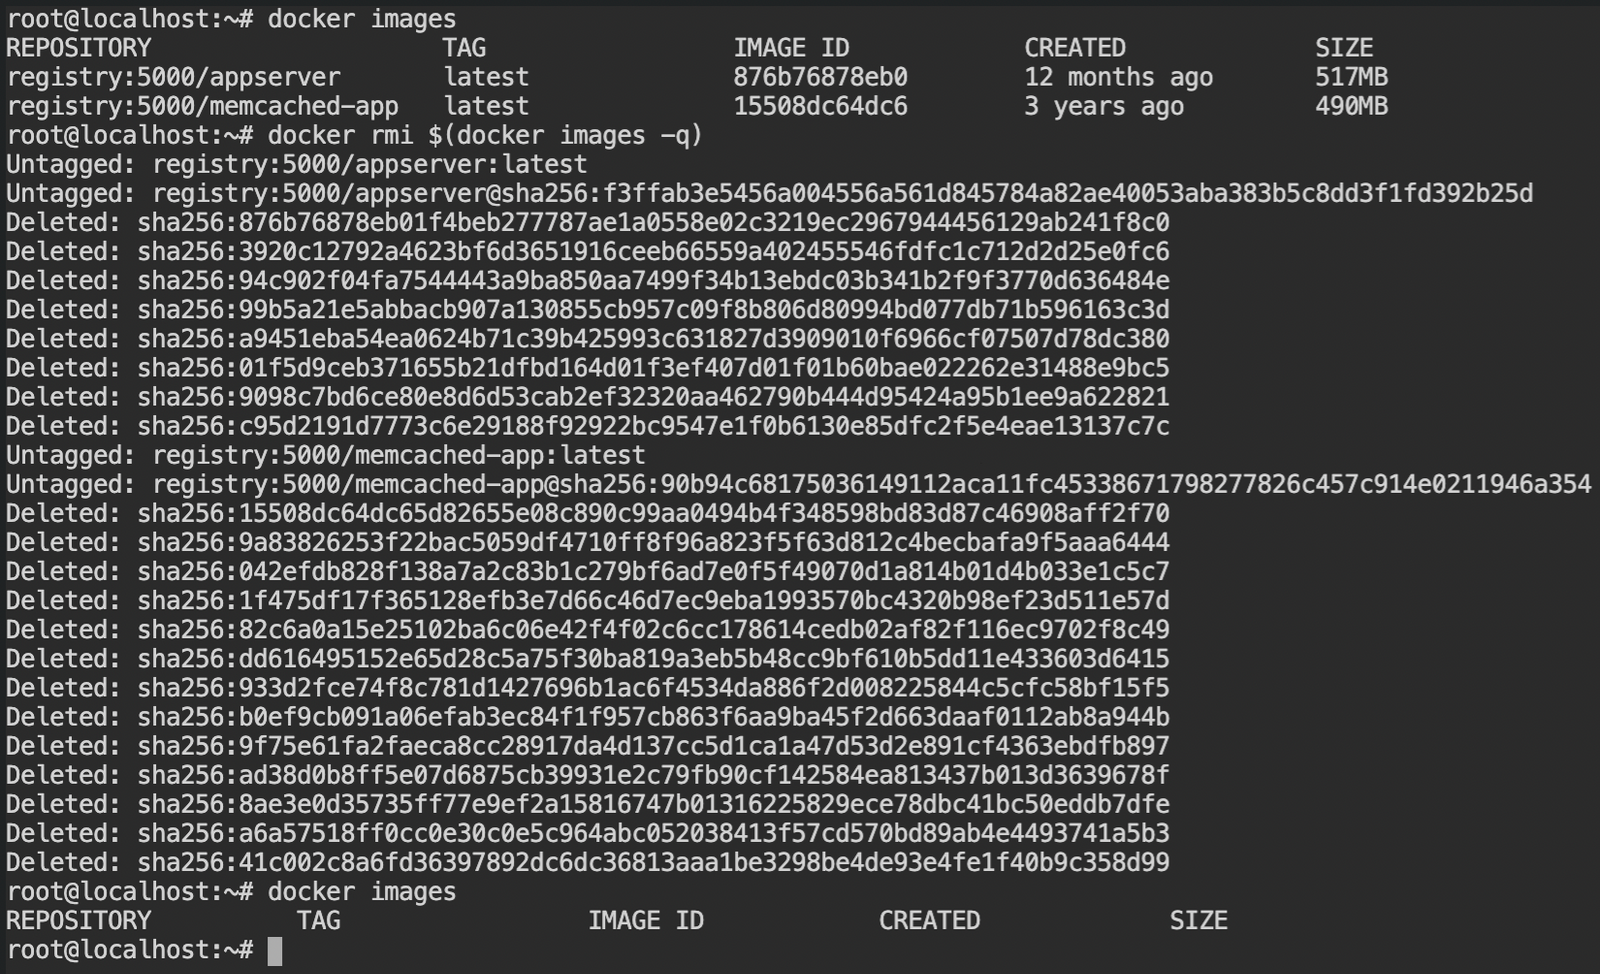
app-testFor the next demonstration via docker-compose, clear all the images so that the system goes back to the same state as we have got in the starting. Use docker rmi command or docker image rm command, followed by the name(s) of the image(s) or their ID(s) which can be obtained by docker images or docker image ls command.
Perform the Deployment using Docker Compose
*sigh* So much work we have done so far with different commands and all. I got this same feeling while working on my side project. Then one of my friends advised me to use the docker-compose which is a configuration file used to spin up all the containers at once and also stop them at once.
Not only this, it allows an easy way to scale up or down a specific container. Of course, we will not be doing that in this post as it is out of the scope of it.
Overview
Docker-compose is an easy to use yaml configuration for setting up and managing the multi-container architecture setup for your apps with minimal commands to be executed. It is managed by the docker team and is a completely open-source tool.
Reasons to use docker-compose over manual one-by-one setup
- Easy format of yaml file to configure the resources and services (containers)
- One file to rule over all the containers for the specific project
- Unlike docker, it is very easy to perform start, stop operations and scaling the containers. Also, you can create or destroy the resources easily
- By default create the network bridge for the current application context to provide network-level isolations
- Allow developers to build the containers on the fly using
buildconfiguration
The default file of the docker-compose is docker-compose.yml or you can provide via -f argument to the docker-compose.
The compose version has a compatibility matrix with the specific docker-engine versions. The list can be found here – https://docs.docker.com/compose/compose-file/compose-file-v3/
Writing the Configuration for the Two Services
The services are the application we want to run and on deployment, it will create a minimum of one container of each of them. Since the memcached-app service needs to be deployed after the appservice, you can make it dependent on it by using depends_on configuration in composer file
version: "3.3"

services:
  memcached:
    image: registry:5000/memcached-app
    depends_on:
      - app
  app:
    image: registry:5000/appserver
    ports:
- "8080:80" # mapping the port 80 of container with 8080 on the host (both ipv4 and ipv6)Spinning up the Services and Accessing the appserver
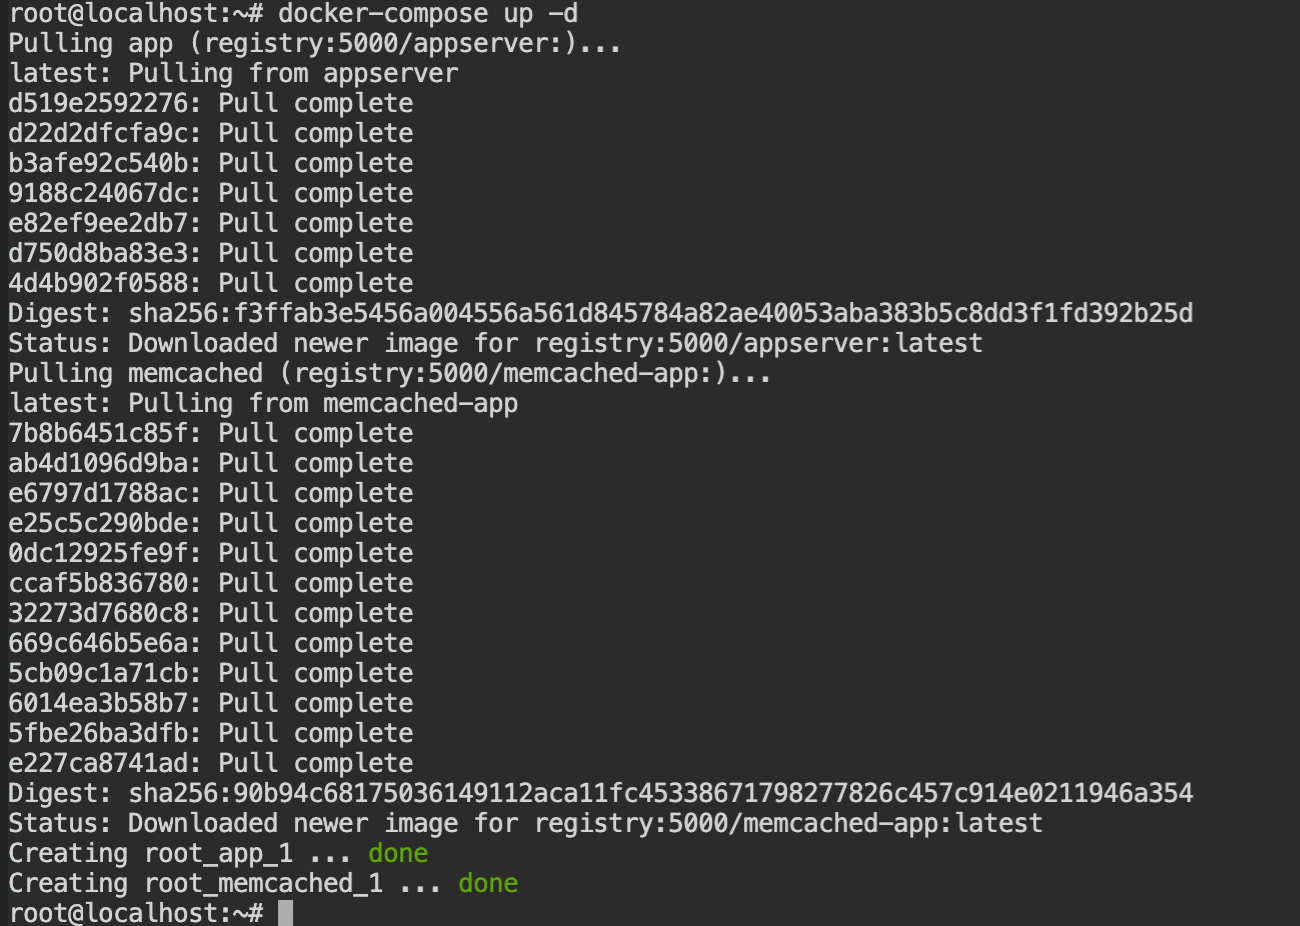
See how easy it is to spin up both the services with a simple docker-compose up command. The flag -d tells the docker to run the service in the background context (detached mode).
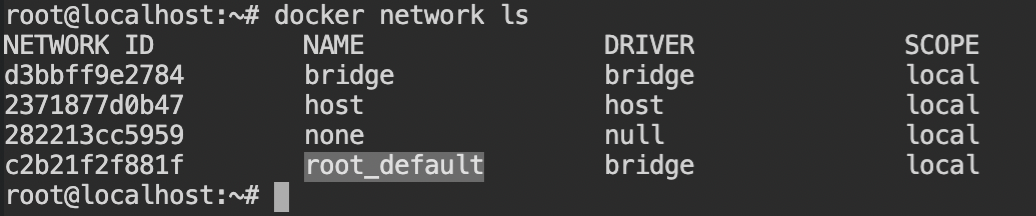
On checking networks, you will see it has automatically created the root_default network. The root here is the directory name, which is considered as the project name in the docker-compose. You can change the project name via -p myproject argument or COMPOSE_PROJECT_NAME=myproject environment variable.
The docker containers are running the specific order as you have done in the manual deployment via docker CLI. The number in the image name comes in handy when you do the scaling for the specific services via docker-compose CLI.

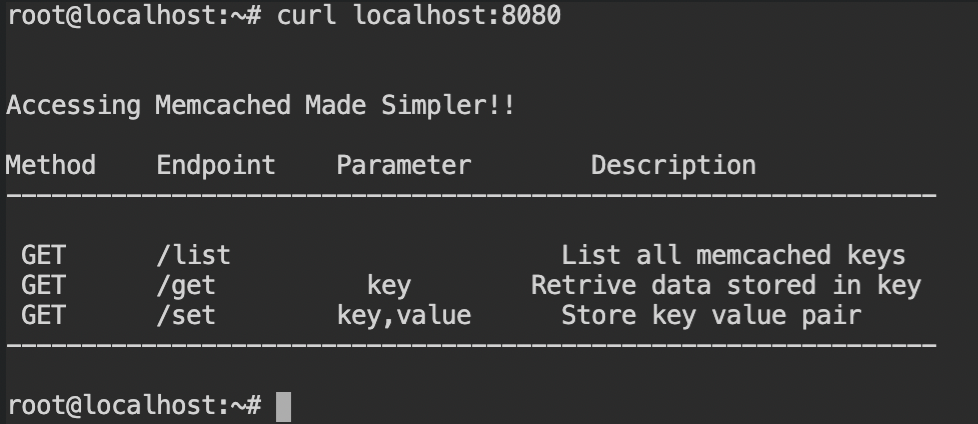
Since we have forwarded the port on the localhost, use the localhost interface to perform the curl requests on the appserver service.
appserver using a forwarded port on the local host networkStopping the Services and Destroying all the Resources
Stopping and destroying the resource is pretty handy in this case. To stop the services without destroying resources, simply use docker-compose stop and docker-compose down if you want to destroy all the resources (containers and network interfaces).
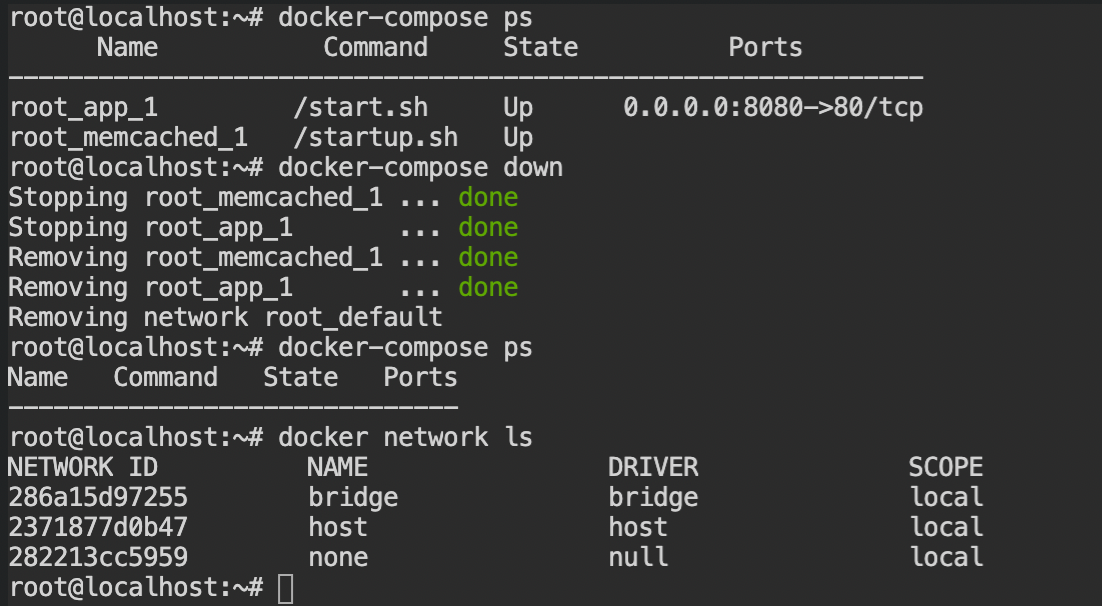
Note: The destroy command will first stop the containers and deallocate all the occupied resources.
References
- https://stackoverflow.com/questions/31251356/how-to-get-a-list-of-images-on-docker-registry-v2#31750543
- https://phoenixnap.com/kb/curl-ignore-certificate
- https://vsupalov.com/docker-latest-tag/
- https://docs.docker.com/network/bridge/
- https://content-www.enterprisedb.com/postgres-tutorials/why-you-should-use-docker-compose